Motorcycle Clip On Handlebars Explained
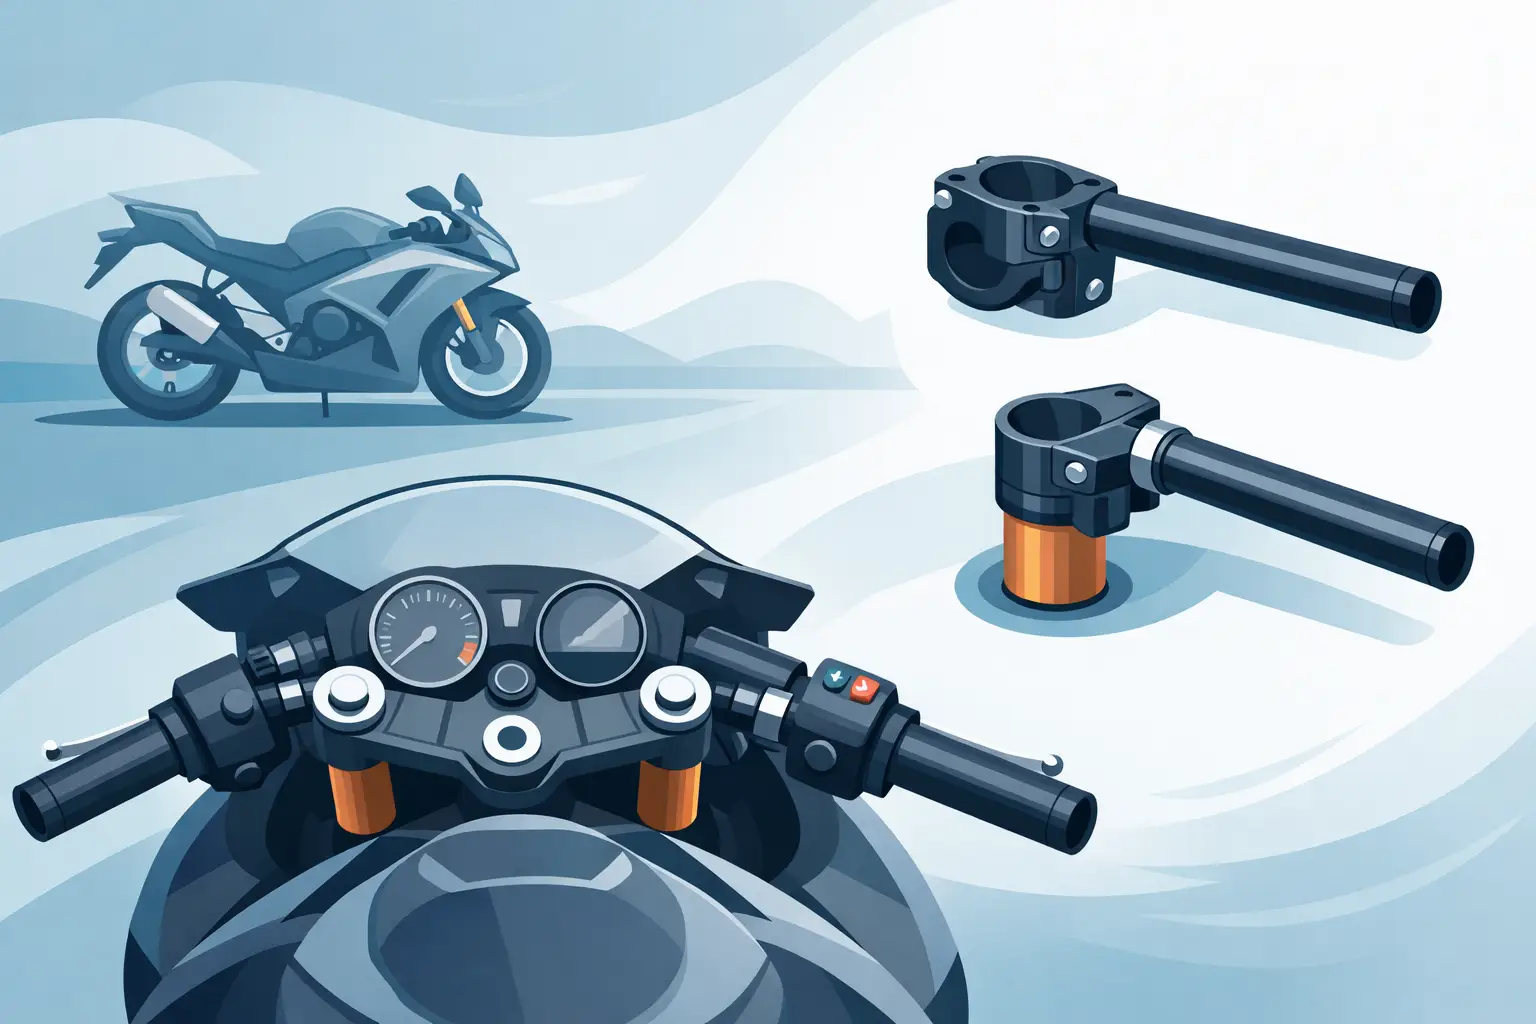
A few millimeters at the bars can change how a sport bike loads the front tire, tips into a corner, and feels at full lean. That is why motorcycle clip on handlebars are not just a styling choice on race bikes and serious street builds. They are a control point that affects rider position, steering input, confidence, and lap-to-lap consistency.
For track-day riders and racers, clip-ons sit in the same category as rearsets and throttle assemblies – simple parts with a direct impact on feedback. Get the shape, rise, width, and mounting dimensions right, and the bike feels precise. Get them wrong, and you can end up fighting wrist angle, fairing clearance, cable routing, or unwanted nervousness on corner entry.
What motorcycle clip on handlebars actually change
A one-piece handlebar gives you a fixed position. Clip-ons give you far more control over where your hands sit in relation to the fork tubes, top triple clamp, and rider triangle. That matters because steering feel is not only about suspension setup. It is also about leverage and body placement.
Lower clip-ons usually put more weight over the front, which can sharpen feedback and help a rider stay committed on the brakes. They can also increase wrist load and make a bike less forgiving on the street. Higher-rise clip-ons can improve comfort and reduce fatigue, but they may slightly change the aggressive front-end connection some riders want.
Width matters too. A wider bar can give you more leverage and a calmer feel during transitions, especially on heavier liter bikes. A narrower setup can feel more compact and aerodynamic, but it may ask more from the rider when flicking the bike side to side. There is no universal best option. The right setup depends on the motorcycle, the rider’s build, and whether the bike spends more time on track or on public roads.
Why racers prefer motorcycle clip on handlebars
On a race-prepared sport bike, adjustability is the main advantage. Clip-ons let you fine-tune ergonomics around your rearsets, tank shape, and body position. That is critical when you are trying to stay relaxed under braking, keep your elbows in a strong position, and move across the bike without getting hung up on controls.
There is also a practical reason. In a crash or tip-over, many clip-on systems allow you to replace a single tube instead of the entire assembly. That can reduce downtime and cost, which matters for racers, track-day riders, and dealers supporting customers who need parts that are serviceable.
Material and construction play a role here. Quality clip-ons use strong clamps, accurate machining, and replaceable tubes that hold position under load. Cheap parts often miss on tolerances, finish, or hardware quality. That shows up fast when you are dealing with hard braking, curb strikes, or repeated heat cycles.
Fitment is where most buying mistakes happen
The first question is not brand. It is fork tube diameter.
Clip-ons mount to the fork tubes, so the clamp size must match exactly. Common sport bike sizes vary by make and model, and even within the same brand different generations can use different dimensions. A Ducati, Yamaha R1, BMW S 1000 RR, or Kawasaki ZX-10R may all need a different setup depending on year and upper fork design.
The next question is mounting position. Some clip-ons sit above the top triple clamp, some below, and some allow more than one position depending on available space. That directly affects ride height at the grips, fairing clearance, and tank clearance at full lock.
Then there is control compatibility. Switchgear, master cylinders, throttle housings, bar-end protectors, and lever guards all need usable space on the tube. If the usable length is too short, your controls can end up crowded. If the bend is wrong, reservoir angle and lever position can become awkward.
This is where fitment-based shopping saves time. If you are sourcing by bike brand, model, year, and category through a specialist catalog like https://shop.axfraceparts.com, you cut out a lot of the guesswork that causes returns and setup delays.
Choosing the right rise, angle, and tube length
If your goal is outright track performance, start with your current riding complaints. Are you overloaded on your wrists? Struggling to hold the front on corner entry? Feeling cramped at the tank? Reaching too far for the bars in full tuck? Clip-on geometry should solve a problem, not create a new one.
Rise is the most obvious variable. A low-rise setup generally suits riders who want maximum front-end feel and a race-focused posture. A moderate rise can be faster in the real world if it lets you brake later, stay relaxed, and keep consistent input deep into a session.
Angle changes wrist alignment. Too flat, and you may force your elbows into a weak position. Too steep, and the controls can feel unnatural, especially while hanging off. Most experienced riders end up preferring a slightly inward angle that supports natural wrist position without over-rotating the hands.
Tube length sounds minor until you start mounting hardware. More length gives flexibility for controls and hand position, but it can also create fairing interference or excessive leverage. Shorter tubes can clean up the cockpit and reduce the chance of contact, but they leave less room for adjustment.
Street use versus track use
The best clip-on setup for a race bike is not always the best setup for a street bike. That should be obvious, but many riders still buy based on appearance first.
On track, lower and more aggressive positioning often makes sense because the rider is moving constantly, braking hard, and using body position to manage load. On the street, that same setup can become tiring fast. Wrist pressure increases, low-speed maneuvering gets less friendly, and visibility in traffic suffers when your upper body is forced too far forward.
For performance street riders, a slightly raised clip-on is often the better compromise. You keep the direct feel and sport bike posture without turning every ride into a forearm workout. If the bike sees both canyon miles and track days, a middle-ground setup usually delivers the best return.
Installation details that affect performance
Clip-ons are simple parts, but sloppy installation ruins the benefit.
Clamp alignment has to be even side to side. Tube insertion depth needs to match. Hardware should be torqued correctly, not guessed at. Controls must rotate into a position that lets you brake and shift body weight without wrist strain. Cable and brake line routing should be checked from lock to lock with the suspension loaded, not just on a stand.
Clearance is another big one. At full steering lock, the bars and levers should not hit the tank, upper fairing, screen, or dash. On some bikes, changing clip-ons may also require adjustments to lever guard fitment, steering stops, or front brake line length.
Riders sometimes assume clip-ons are a bolt-on cosmetic upgrade. On modern sport bikes with tight packaging, they are a cockpit system component. They need to work with everything around them.
What separates premium clip-ons from budget parts
The difference is not only branding. It is in machining quality, clamp precision, tube material, hardware, and repeatability.
Premium clip-ons tend to hold alignment better and offer cleaner tolerances at the fork tube. They are less likely to slip, distort, or develop play over time. Replacement tubes are often easy to source, which matters if the bike goes down. Better hardware also means less frustration during setup and service.
Budget options can work for casual use, but they often become a false economy on high-performance bikes. If you are running hard on track, loading the front aggressively, or building inventory for customers who expect reliable fitment, it pays to buy parts designed for race use rather than generic aftermarket pieces.
When clip-ons are worth the upgrade
If your stock bars already fit you well, clip-ons may not drop seconds on their own. But if your current cockpit is limiting body position, causing fatigue, or reducing confidence at the front, they are one of the smartest rider-contact upgrades you can make.
They are especially worthwhile when paired with other ergonomic changes such as rearsets, race bodywork, upgraded controls, or a new top triple setup. That combination lets you build a rider triangle that supports faster, more repeatable riding.
The key is to buy with intent. Match the clamp size to the bike. Choose geometry that suits your use. Leave enough room for controls. Prioritize quality over appearance. And if you are shopping for a specific machine, use fitment-first sourcing instead of trying to force a universal solution.
Good motorcycle clip on handlebars do not just change where your hands sit. They change how confidently you ask the bike to do its hardest work.