
How to Fit Rearsets Properly
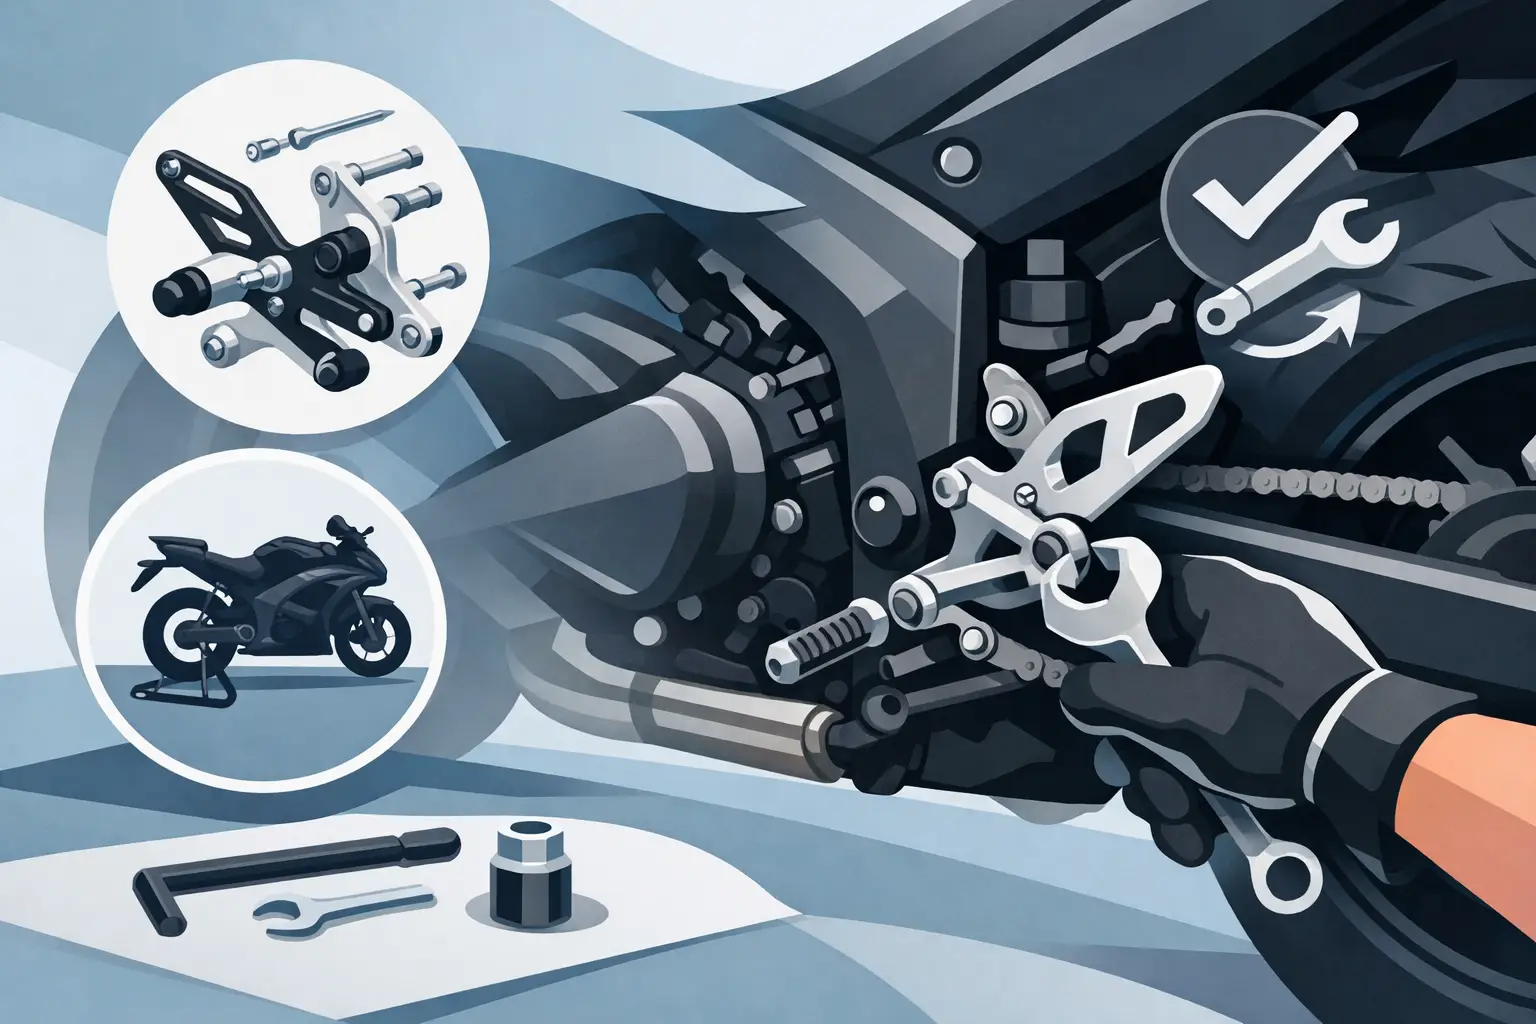
A rearset install can improve control fast, but only if the parts are fitted and adjusted correctly. If you want to know how to fit rearsets properly, the job is not just bolting on new pegs and calling it done. Position, linkage alignment, fastener torque, brake light function, and rider ergonomics all matter.
On a track bike, poor rearset setup shows up immediately. Missed shifts, awkward body position, reduced feel at the brake pedal, and avoidable ground contact all point to the same problem – the parts are installed, but not actually dialed in. On a street bike, the same mistakes can make the bike less comfortable and less predictable.
Why proper rearset fitment matters
Rearsets change more than peg location. They affect how you load the chassis, how quickly you can move across the bike, and how precisely you operate the shifter and rear brake. That matters whether you are building a race bike, setting up a track-day machine, or sharpening a performance street build.
The trade-off is simple. A higher, further-back position usually improves cornering clearance and gives a more aggressive riding stance, but it can also reduce comfort and make the controls feel cramped if you go too far. A lower or more neutral setting may feel better on the street, but it might not give you the clearance or body position you want at pace. There is no universal best setting. There is only the right setting for the rider, bike, and intended use.
Before you fit rearsets properly
Start with fitment, not assumptions. Rearsets are model-specific, and that means exact year range, frame design, and in some cases ABS or quickshifter compatibility all need to be confirmed before installation. If the bike has aftermarket rear brake components, race shift conversion parts, or engine case covers with extra bulk around mounting points, inspect clearance before you start.
Lay out every component on a clean bench. You want the left and right assemblies, mounting plates, pegs, pedals, shift rod, hardware, spacers, and any supplied heel guards or toe pegs accounted for before the first bolt comes out. Check the manufacturer instructions too. Premium racing rearsets are engineered with specific spacers, bolt lengths, and mounting sequences for a reason.
A torque wrench, threadlocker where specified, the correct hex and socket tools, and basic brake switch tools for street bikes should all be on hand. If the bike is used on track only, you may also be considering brake switch removal or safety wiring, depending on class rules and your build standard.
How to fit rearsets properly without creating new problems
Remove the OEM rearsets carefully and pay attention to how the factory brake and shift systems are arranged. On many bikes, the rear brake master cylinder, return spring, and brake light switch are attached to the stock assembly. If you rush this step, it is easy to preload the brake pedal incorrectly or damage a switch spring.
When installing the new mounting plates, clean the frame threads and use the supplied hardware exactly as intended. Do not swap bolt lengths because they look close enough. A bolt that is slightly too long can bottom out before clamping the plate. A bolt that is too short can reduce thread engagement. Either mistake is unacceptable on a control part.
Fit the assemblies loosely first. That gives you room to align the brackets and pedals before final torque. If the rearsets offer multiple peg positions, resist the urge to choose the most aggressive hole immediately. Start from the middle position unless you already know your preferred geometry.
Shifter side setup
The shift side needs smooth linkage geometry. Install the shift rod so the rod ends sit square without bind through the full pedal travel. If the bike uses a quickshifter, make sure the sensor direction and rod orientation match the intended shift pattern. Standard shift and GP shift setups often require different linkage arrangements.
The lever position should allow a clean upshift and downshift without forcing your ankle into an awkward angle. Set the peg first, then set the pedal height relative to your boot. If you adjust the pedal before finalizing peg position, you will end up doing the same work twice.
Keep the shift rod as straight as practical. Extreme angles can introduce friction and vague feel. On a race bike, that can mean incomplete shifts under load. On a street bike, it just feels sloppy. Neither is acceptable from a quality rearset setup.
Rear brake side setup
On the brake side, focus on master cylinder alignment and pedal free play. The pushrod should operate in a straight, natural path without side loading the master cylinder. If the rod angle is off, you can create drag, poor brake feel, or premature wear.
Set the pedal height so you can cover the rear brake without pointing your toe unnaturally downward. Then verify that the brake fully releases when you let off the pedal. Spin the rear wheel if possible and confirm there is no drag caused by pedal preload.
If the bike is street ridden, reconnect and test the brake light switch. That detail gets skipped more often than it should. A clean install is not enough. The bike has to function correctly after the parts go on.
Adjusting rider position after installation
This is where riders either gain real benefit or waste the upgrade. Rearsets are adjustable because body dimensions, riding style, and bike use vary. A six-foot rider doing track days on a ZX-6R will not want the same position as a shorter rider on a Panigale used mostly on the street.
For track use, most riders want a position that is slightly higher and slightly rearward compared to stock. That improves lean angle clearance and supports a more committed lower-body position. But go too high and your hips may lock up, making transitions slower instead of faster.
For mixed street and canyon use, a moderate setting usually works better. You still gain better peg grip, stronger support, and sharper control feel, but without making every stoplight and low-speed maneuver more awkward than it needs to be.
The best method is simple. Sit on the bike in full boots. Put your feet on the pegs, get into your normal riding posture, and simulate braking and shifting. Then move into your hang-off position and check whether your outside leg can lock in comfortably and whether your inside foot still finds the controls cleanly.
Common mistakes when learning how to fit rearsets properly
The biggest mistake is treating rearsets like cosmetic parts. They are control hardware. If one side is misaligned or one pedal is poorly adjusted, the bike will tell you.
Another common error is over-adjusting immediately after installation. Riders often choose the most radical peg location because it looks race-ready. Then they discover they cannot shift cleanly or their knees are too folded to move naturally. Start neutral, test, then refine.
Loose hardware is another serious issue. Rearsets take constant load from body weight, braking input, and shifting force. Recheck all fasteners after the first ride or session. Race-prepped bikes should be inspected even more closely.
It is also common to ignore side-to-side feel. The shift side and brake side need to feel balanced under your feet, even though their mechanical functions are different. If one side is noticeably higher, lower, or farther away without good reason, the bike can feel awkward during transitions.
Final checks before you ride
Before the bike leaves the stand, cycle every control several times. Confirm smooth shifter movement, proper return from the brake pedal, secure peg mounting, and full clearance to fairings, exhaust, and engine covers. Turn the bars lock to lock and make sure nothing interferes unexpectedly when the rider is on the bike.
Then sit on the machine with your normal riding boots and verify the details that matter on track or road. Can you get your toe under the shifter easily? Can you cover the brake without lifting your foot off the peg? Can you move your weight without catching your heel or boot sole on the brackets?
If the answer to any of those is no, keep adjusting. Rearsets are not properly fitted when the bolts are tight. They are properly fitted when the bike supports your movement, your inputs are clean, and the control feel is consistent.
High-end rearsets from serious performance brands are built for precision, but installation still decides the result. If you are sourcing model-specific components through a fitment-driven supplier like AXF Race Parts, that takes much of the guesswork out of compatibility. The final step is making the adjustment match your bike and your riding.
Get the position close, test it honestly, and make small changes one at a time. That is how you turn a rearset upgrade into a real performance gain instead of just another part on the bike.