

Motorcycle Steering Damper Setup for Track Use

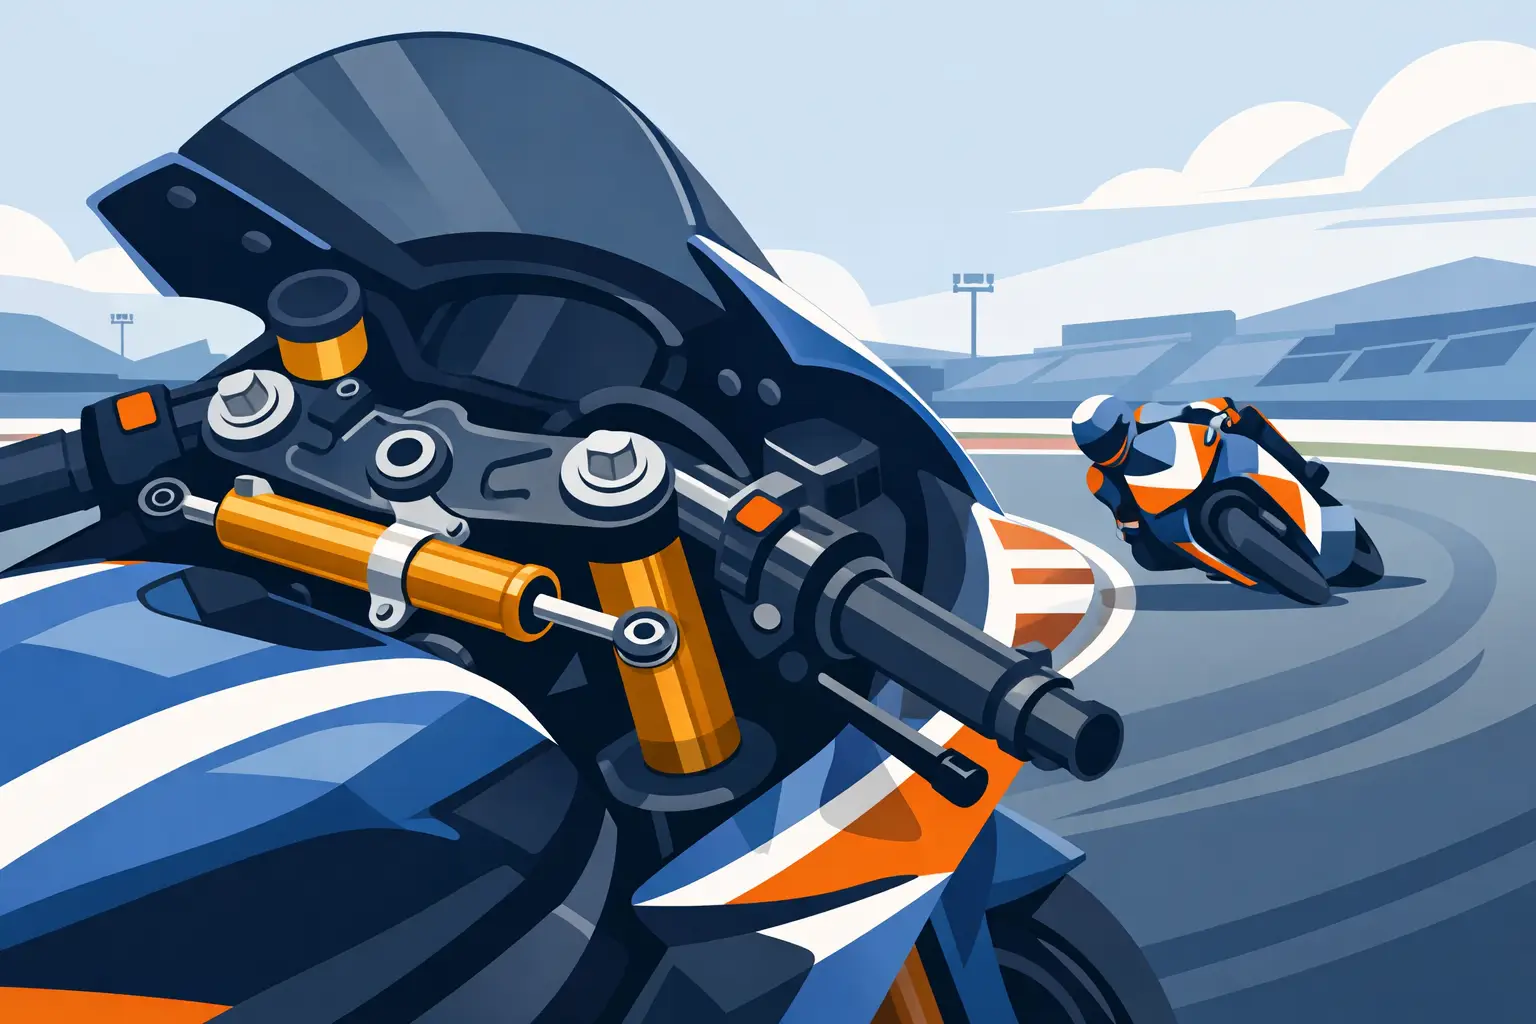
A hard acceleration run out of a bumpy corner can turn a light front end into a violent bar movement before you have time to react. The right motorcycle steering damper setup gives the bars controlled resistance when the chassis is unsettled, helping a sport bike track straight without making normal steering feel heavy or delayed.
That does not mean turning the adjuster to maximum and calling it safer. A steering damper is a tuning component, not a cure for poor geometry, worn tires, incorrect sag, loose steering-head bearings, or a rider holding the bars too tightly. Set it up correctly, and it supports a stable, predictable front end at race pace.
What a Steering Damper Actually Does
A steering damper slows rapid handlebar movement. It is most valuable when the front tire gets light under acceleration, touches down slightly out of line, or encounters bumps while the motorcycle is loaded hard. By resisting sudden steering inputs, it reduces the chance of a small deflection escalating into a tank-slapper.
It should not prevent you from steering the motorcycle. At normal corner-entry and mid-corner speeds, the bars still need to move freely enough for precise turn-in, corrections, and rider feedback. Too much damping can mask front-tire information, make chicane transitions laborious, and leave the bike feeling reluctant to finish a turn.
Most sport bikes use one of two designs. A linear damper uses a rod-style hydraulic unit between the frame and fork or triple clamp. A rotary damper mounts around the steering stem area and is compact, protected, and often more integrated into a race-oriented cockpit. Both can work exceptionally well when the mounting kit is correct and the setting suits the chassis.
Start With Fitment and Mechanical Condition
Before adjusting anything, confirm that the damper and bracket kit are designed for your exact motorcycle model and year. A damper must move through the full steering range without contacting the tank, fairing stay, brake lines, ignition switch, or bodywork. Check clearance with the fork compressed if possible, especially on race bikes with altered clip-ons, fork offsets, steering stops, or superbike-style upper triple clamps.
Mounting hardware needs to be secure, correctly torqued, and aligned without side-loading the damper rod. A linear damper that is forced to operate at an angle can bind, wear prematurely, and deliver inconsistent resistance. The handlebars must reach both steering stops cleanly. Never accept reduced steering lock simply because a bracket has been installed incorrectly.
The rest of the motorcycle matters just as much. Inspect steering-head bearings for notchiness or play, confirm wheel bearings are sound, and make sure front and rear axle hardware is torqued. Check tire condition and pressures before chasing damper settings. A cupped front tire or an overheated rear tire can create instability that no damper adjustment will solve.
Motorcycle Steering Damper Setup: Establish a Baseline
Begin near the manufacturer’s recommended middle setting, or use the midpoint of the available adjustment range if no baseline is supplied. If the damper has 20 clicks, start around 10. If it uses a numbered dial, begin in the middle rather than at the softest or firmest end.
This gives you room to move in either direction while keeping the first test meaningful. Starting at maximum damping is a common mistake, particularly after a rider experiences one headshake. The bike may feel calmer in a straight line, but excessive damping can create a slow, disconnected front end that is harder to place accurately on corner entry.
Set your baseline after confirming suspension sag, damping settings, tire pressures, and ride height. If you change any of those major chassis variables, revisit the damper. Raising the rear ride height, fitting a different tire profile, changing fork position in the clamps, or increasing acceleration grip can all change how easily the front becomes light.
For track riders, record the damper setting with the same discipline used for suspension settings. Write down the tire, pressure, track, temperature, gearing changes, and symptoms. One click may be noticeable on a sensitive race setup, but only if you know what changed between sessions.
Tune for the Symptom, Not the Fear
A steering damper should be adjusted in small steps, normally one or two clicks at a time. Make one change, ride a familiar section of track, and assess the result. Avoid adjusting it in the paddock based only on how the bars feel while stationary.
If the Front End Shakes Under Acceleration
If the bars twitch or oscillate as the front gets light over crests, bumps, or aggressive corner exits, add a small amount of damping. The goal is to reduce the speed and amplitude of the movement without making the bike resist normal line corrections.
Test it where the issue occurs. A damper that feels perfect in the garage can still be too light at the exit of a fast, uphill corner. If the problem improves but remains present, add another small increment. If it becomes harder to change direction or the bike feels vague at turn-in, return one step toward softer damping.
If the Bike Feels Heavy or Won’t Finish Turns
Reduce damping if the motorcycle requires unnecessary effort in quick transitions, resists small mid-corner corrections, or feels slow to complete the last part of a turn. Excess damping is often mistaken for front-end stability because it dulls movement, but a race bike needs controlled agility as well as straight-line composure.
Do not assume the damper is the only cause. A motorcycle that runs wide may also have too much rear sag, insufficient front support, poor tire pressure, or geometry that is too stable for the circuit. The damper is the final control layer, not the primary tool for correcting a handling imbalance.
If Instability Persists at a Sensible Setting
Stop turning the damper up. Persistent headshake, especially under power, warrants a chassis check. Review rear ride height and sag, fork preload and compression support, tire temperatures, pressure targets, chain adjustment, wheel alignment, and steering-head bearing condition.
Rider input also matters. Death-gripping the bars prevents the motorcycle from making the small movements it needs to make over surface imperfections. Support your body with your legs and core, keep your arms relaxed, and let the damper manage sharp deflections rather than trying to wrestle every movement out of the bars.
Street and Track Settings Are Rarely the Same
A track setting is usually built around high speed, hard acceleration, aggressive tire loading, and familiar pavement. Street riding introduces potholes, cambers, cold tires, traffic, and lower-speed steering demands. A setting that feels ideal at a fast circuit may be too firm for a tight canyon road or daily ride.
For mixed use, establish a street setting that preserves easy low-speed control, then add damping at the track as needed. Count and record the adjustment difference so you can return to each baseline quickly. If your damper has a high-speed and low-speed circuit, follow the manufacturer’s adjustment guidance carefully rather than treating both controls as interchangeable.
Electronic steering dampers on certain modern sport bikes add another variable because damping can change with speed or rider mode. Verify the selected ride mode before judging the chassis. If available, use the system’s factory map as the starting point and make changes only after the mechanical fundamentals are sorted.
A Practical Test Routine for Track Days
Use the first session to confirm that the damper is functioning smoothly and that the bike has full steering movement. Do not chase settings while tires are cold or while you are learning an unfamiliar circuit. Once pace is consistent, focus on the areas that load the chassis most: hard acceleration exits, fast crests, bumpy braking zones, and rapid left-right transitions.
Make a single adjustment between sessions. Two clicks firmer might be appropriate after a clear headshake on corner exit; one click softer may be enough when the bike feels reluctant in a chicane. Then ride the same reference corners at a controlled pace and compare steering effort, front-end confidence, and stability under power.
Avoid using a damper setting to compensate for a sudden mechanical problem. If the motorcycle starts behaving differently during a day, inspect it. A loose clip-on, a degraded tire, a slipping fork tube, or a steering-head issue deserves attention before another adjustment click.
When a Premium Damper Upgrade Makes Sense
A quality aftermarket steering damper and model-specific mounting kit are worthwhile when the original unit has limited adjustment, inconsistent action, poor placement, or no longer matches a race-prepared chassis. Track-focused riders also benefit from clearer, repeatable adjustment ranges and durable hardware built for repeated heat cycles, vibration, and hard use.
Choose the damper around fitment first, then adjustment range, mounting design, and serviceability. A premium component only performs as intended when it is mounted correctly and tuned around the motorcycle’s suspension, tires, and geometry. AXF Race Parts supports performance riders with race-ready components selected around the fitment details that matter.
The best setting is not the firmest one. It is the lowest damping level that keeps the front end composed when the motorcycle is working hardest, while leaving you free to place the bike exactly where the next apex demands.