

How to Align Motorcycle Chain on a Sport Bike

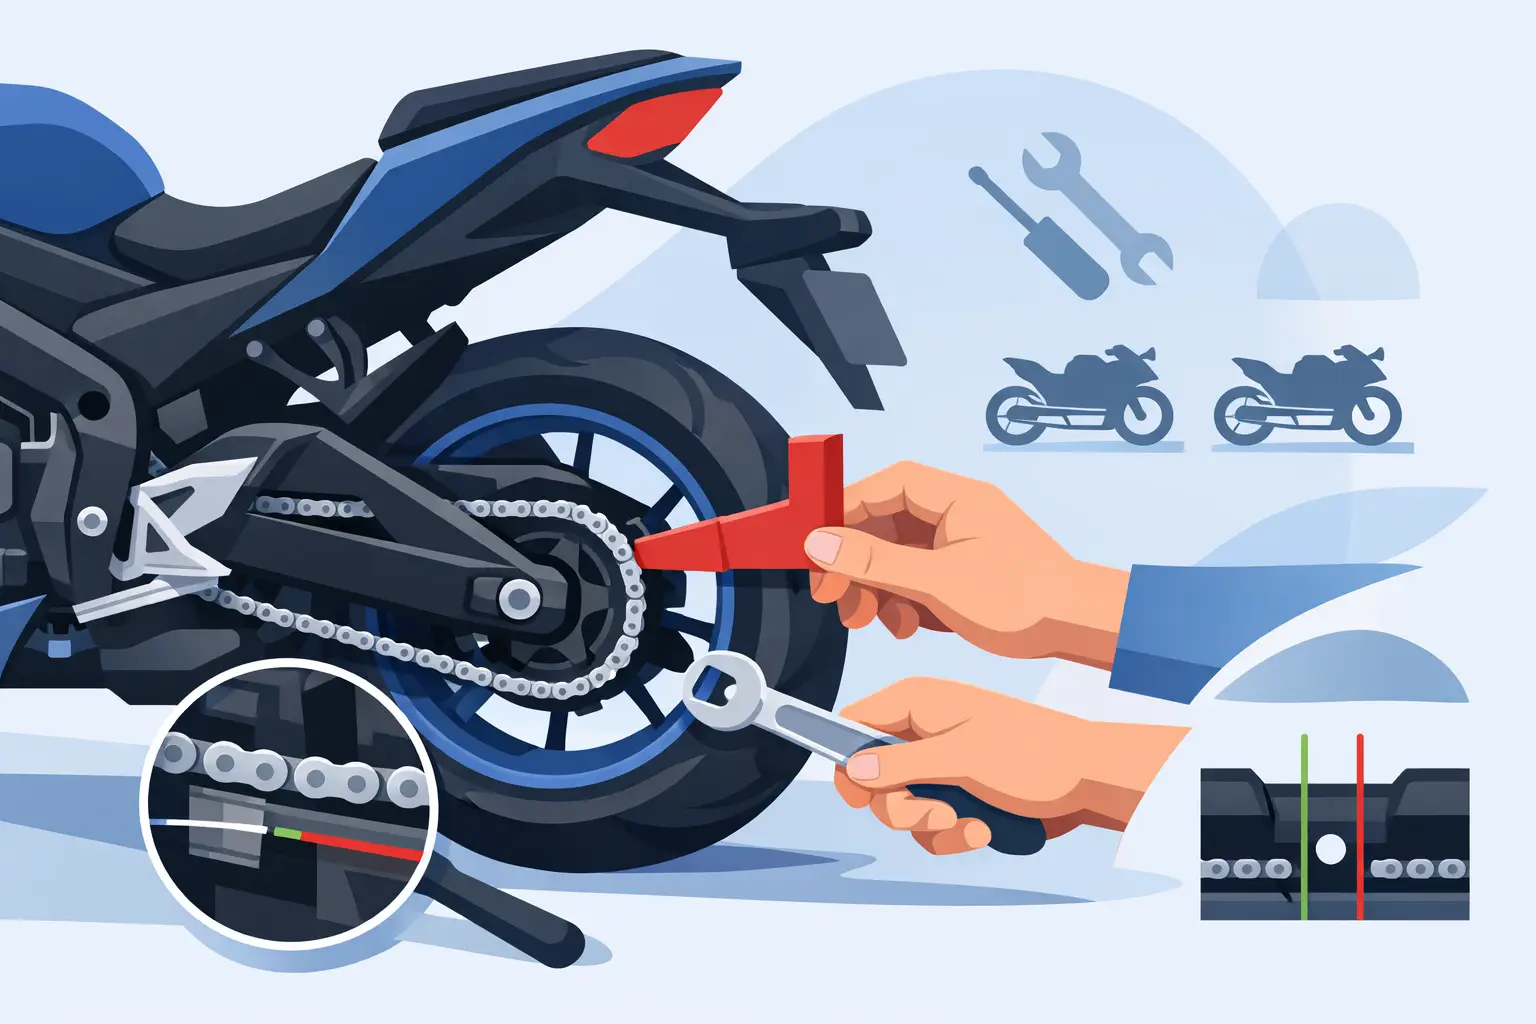
A rear wheel can look straight, the axle blocks can show matching marks, and the bike can still be out of alignment. On a sport bike, that small error can accelerate chain and sprocket wear, create uneven rear-tire wear, and leave the bike feeling less settled when you get back on the throttle. Knowing how to align motorcycle chain correctly means setting chain slack and rear-wheel tracking as two separate checks, then confirming both before the axle is torqued.
Why Rear-Wheel Alignment Matters
Your chain does not merely transfer power. It also places a continuous side load on the countershaft sprocket, rear sprocket, swingarm guides, and wheel bearings if the rear wheel is misaligned. A chain that runs straight stays centered on the sprockets. A chain that tracks toward one side of the rear sprocket is telling you something is off.
For a street rider, a minor error may show up first as premature wear or a tight spot that seems to return too quickly. For track-day riders and racers, correct alignment supports consistent driveline behavior under hard acceleration. It will not fix suspension geometry or tire setup, but it removes one avoidable variable from a chassis that needs to be predictable.
Do not rely on handling feel alone. A motorcycle can ride acceptably with the rear wheel slightly crooked, especially on the street. The goal is mechanical accuracy, not guessing based on whether the bike seems to pull left or right.
Tools and Preparation
Put the motorcycle on a rear paddock stand so the wheel can turn freely. A level work area helps, but the key requirement is that the bike is stable and the suspension is unloaded consistently. Check your service manual for the specified chain slack, axle-nut torque, and any special adjustment procedure for your model.
You will need the correct sockets and wrenches for the axle and adjusters, a torque wrench, a ruler or chain-slack gauge, and a marker or notepad. For a more precise result, use a chain alignment tool that references the rear sprocket. A straightedge can help as a secondary visual check, but it is less practical around modern sport-bike bodywork, rearsets, and wide rear tires.
Before making adjustments, inspect the chain and sprockets. A worn chain with tight links, damaged rollers, seized adjusters, or hooked sprocket teeth cannot be accurately set up for long. Clean and lubricate the chain if needed, then rotate the rear wheel and find the tightest section. Chain slack must always be set at that tightest point.
How to Align Motorcycle Chain Correctly
Start by loosening the rear axle nut enough that the axle can move in the swingarm slots. Do not remove the nut, and do not loosen it so far that the wheel becomes unstable. Loosen the adjuster lock nuts on both sides of the swingarm if your bike uses them.
Back each adjuster out slightly if you are unsure of its current tension, then bring both sides forward until they contact the axle blocks or axle ends evenly. This gives you a repeatable starting point. From there, make equal, small changes on both sides when you need to tighten the chain.
If the chain is too loose, move the axle rearward. If it is too tight, move the axle forward. Work in small increments, typically a quarter turn at a time. After each adjustment, push the wheel forward firmly so the axle seats against both adjusters. Without this step, the wheel can shift when you torque the axle, changing the slack and alignment you thought you had set.
The swingarm index marks are useful references, not precision instruments. Manufacturing tolerances, damage, paint thickness, and uneven axle-block contact can make identical marks misleading. Use them to keep adjustments close, then verify the result at the sprocket.
Check Alignment at the Rear Sprocket
Fit a chain alignment tool against the flat outer face of the rear sprocket. The tool projects forward alongside the lower chain run, making it easier to see whether the chain tracks in a straight line. Rotate the wheel as needed and view the chain from behind the bike.
When alignment is correct, the tool and chain should remain parallel over a useful distance. If the chain angles toward or away from the tool, the axle needs a small correction. Adjust only one side at a time, then reseat the axle and check again. It is a controlled process, not a one-turn-and-done operation.
A sprocket-mounted alignment tool is generally more meaningful than measuring from the swingarm to the axle or matching adjuster marks. It checks the relationship that matters most: the chain’s path relative to the rear sprocket. However, it assumes the rear sprocket is correctly mounted and the wheel assembly is in sound condition.
If you are working on a race bike with quick-change hardware, aftermarket chain adjusters, or captive spacers, inspect that equipment closely. Premium components can improve repeatability, but only when the axle blocks, spacers, and adjusters are clean, fully seated, and correct for the wheel setup.
Set Chain Slack Before Final Torque
Wheel alignment and chain slack influence each other. Moving one side of the axle back to correct tracking can tighten the chain, while changing slack can alter alignment. This is why final setup requires a few passes between both checks.
Measure chain slack at the specified point in the lower chain run, usually midway between the sprockets. Push the chain up, then down, and measure the total vertical movement. Follow the motorcycle manufacturer’s specification rather than using a generic number. Some sport bikes need noticeably different slack due to swingarm length, suspension travel, and countershaft sprocket location.
Do not set a chain overly tight in pursuit of a crisp feel. As the rear suspension compresses, the distance between the countershaft and rear axle changes. A chain that appears acceptable on a paddock stand may become excessively tight when the bike is loaded. That loads the countershaft bearing, transmission output components, wheel bearings, and chain far harder than necessary.
After setting slack at the tightest chain point, recheck sprocket alignment. If it remains straight and slack is within specification, hold the adjusters in place and tighten their lock nuts if equipped. Then torque the rear axle nut to the exact value in the service manual.
Once the axle is torqued, rotate the wheel several times and measure slack again at the tightest point. The process is not complete until the torque procedure has been performed. On some motorcycles, axle tightening pulls the wheel slightly against the adjusters and changes the final reading.
Common Alignment Errors That Cost Parts
The most common mistake is trusting the swingarm marks without another check. They are fast and convenient, but they are not a substitute for verifying chain tracking. Another frequent problem is adjusting chain tension with the axle nut still fully tight, which can damage adjusters or create inconsistent movement.
Avoid measuring slack at a random point in the chain. Chains wear unevenly, particularly after track use, aggressive launches, or neglected lubrication. If one section is significantly tighter than the rest, adjustment alone is not the answer. Inspect the chain carefully and replace it if it is beyond service limits.
Also confirm that rear-wheel spacers are installed in the correct positions after tire changes. A swapped spacer, incorrectly seated carrier, or missing cush-drive damper can create alignment symptoms that no amount of adjuster tuning will solve. If the wheel does not appear centered or the brake caliper bracket does not seat naturally, stop and inspect the assembly.
Track-Ready Final Inspection
Before rolling the bike off the stand, verify the axle nut is torqued, adjuster lock nuts are secure, the chain has proper lubrication, and the rear wheel spins without binding. Look down the chain run one last time. The chain should sit cleanly on the sprocket teeth with no obvious sideways drift.
After your next ride or session, inspect the axle marks, chain slack, and sprocket tracking again. New chains settle, fresh rear wheels can seat differently after service, and repeated heat cycles can reveal a loose lock nut or worn adjuster. For race-prepared motorcycles, add this inspection to the same routine as brake checks, tire pressures, and fastener verification.
Precise chain alignment is inexpensive performance protection. Take the extra few minutes to verify it at the sprocket, torque it correctly, and recheck it after use. Your drivetrain will last longer, and your sport bike will be better prepared for every hard exit.