

How to Safety Wire Calipers for Track Use

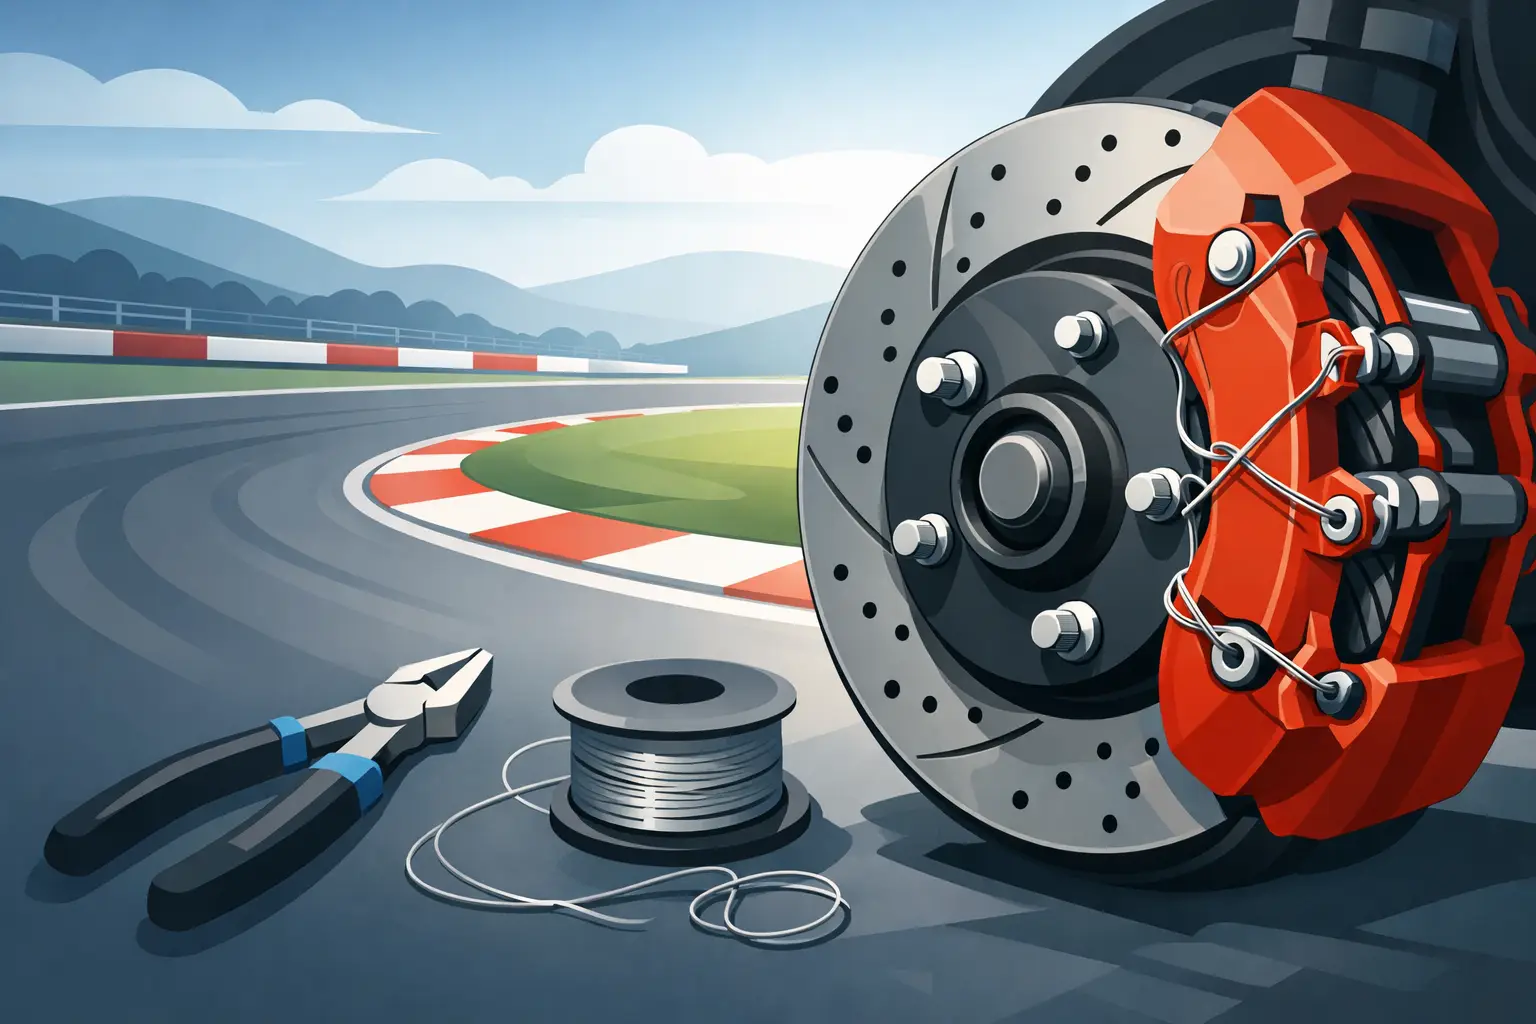
A caliper bolt backing out is not a small problem that turns into a big one later. On a race bike, it can become an immediate loss of braking security. Knowing how to safety wire calipers is a core track-prep skill for riders and teams who want critical fasteners visibly secured, properly torqued, and easy to inspect before every session.
Safety wire does not replace correct torque, clean threads, or the manufacturer’s specified hardware. It is a secondary retention method that resists a bolt rotating loose. Done correctly, the wire applies tension in the direction that would tighten the fastener. Done poorly, it can provide a false sense of security, damage the wire, or even encourage the bolt to loosen.
When Caliper Safety Wiring Is Required
Many race organizations require front brake caliper mounting bolts to be safety wired, while track-day providers may recommend it without making it mandatory. Requirements vary by organization, class, and motorcycle, so the rulebook for your event is the final authority.
Even when it is not required, safety wiring is worthwhile on a dedicated track bike. Brake calipers live in a harsh environment of heat cycles, vibration, aggressive braking loads, cleaning chemicals, and frequent wheel changes. A properly installed safety wire gives you a clear visual confirmation that a critical bolt has been prepared with race use in mind.
Most riders safety wire the front caliper mounting bolts first. Depending on your race regulations and bike setup, you may also need to wire caliper bridge bolts, pad-retaining pins, axle pinch bolts, banjo bolts, oil drain bolts, oil filters, and filler caps. Do not assume every drilled fastener on the motorcycle should be connected together. Each wire run needs a purpose and the correct direction of pull.
Tools and Materials You Need
Use quality stainless steel safety wire, not general-purpose hardware-store wire. For most motorcycle brake caliper applications, .032-inch stainless safety wire is the common choice. Some organizations permit .025-inch wire for smaller fasteners, while .041-inch wire can be appropriate for larger hardware. Check the applicable rules before choosing a diameter.
You will need safety-wire pliers, side cutters, eye protection, and pre-drilled caliper bolts. A small flashlight helps with final inspection. If your bolts are not drilled, use a dedicated safety-wire drilling jig, a quality drill press or steady hand drill, sharp cobalt drill bits, cutting fluid, and replacement bolts in case a drill bit breaks or a fastener is damaged.
Pre-drilled bolts are usually the cleaner solution. They eliminate the risk of weakening or ruining an expensive OEM or aftermarket fastener, and they save time during race prep. If you drill your own, do not drill through threads or create a hole so large that it compromises the bolt head.
Start With Correct Brake Assembly
Safety wire comes last, after the caliper is installed correctly. Clean the mounting surfaces and inspect the caliper bolts for damaged threads, corrosion, stretched shanks, rounded heads, or evidence of previous over-torquing. Replace questionable hardware. A premium braking system deserves fasteners in equally good condition.
Install the caliper and torque its mounting bolts to the motorcycle manufacturer’s specification. If the manufacturer calls for threadlocker, use the correct product and application method. If a race team’s service manual specifies different hardware or torque values for a race caliper kit, follow the documentation supplied with that system.
Do not use safety wire to compensate for uncertain torque settings or worn bolt threads. The wire is not supposed to carry braking load. Its job is simply to prevent a correctly installed fastener from rotating loose.
Before wiring, turn the bars lock to lock and inspect brake-line routing, fork clearance, wheel clearance, and access to the bolt heads. On radial calipers, the available anchor points and best wire path can differ significantly between motorcycle models.
How to Safety Wire Calipers Correctly
The fundamental rule is simple: the wire must pull each bolt in its tightening direction. For a conventional right-hand-thread bolt, that means the wire should resist counterclockwise rotation when viewed from the bolt head.
Start by examining the two caliper mounting bolts and deciding whether they can be wired together. On many front calipers, the upper and lower bolts are close enough for a single wire run. If wiring the bolts together creates the correct tightening pull on both bolts, it is an efficient and clean method. If the geometry pulls one bolt loose, do not force the arrangement. Use an approved fixed anchor point or separate wire runs instead.
Thread a suitable length of wire through the drilled head of the first bolt. Pull both wire tails through evenly, then bend the wire so the active run leaves the bolt in the direction that will tighten it. Keep the wire snug, but do not pull so aggressively that you deform the drilled hole or preload the bolt.
Use safety-wire pliers to twist the two strands consistently. A tidy twist is typically six to eight twists per inch for .032-inch wire. The exact appearance matters less than even tension, no kinks, and no loose loops that can snag during service. Twist only the length needed to reach the second bolt or anchor point.
Route the twisted wire to the second bolt while maintaining tension. Before securing it, pause and test the logic: if the second bolt attempts to rotate loose, will the wire immediately tighten? If the answer is no, change the route. This is the most critical inspection point in the entire job.
Pass the wire through the second bolt head, pull it taut, and twist the remaining tails. Leave enough wire to create a short pigtail, then cut the excess cleanly. Fold the pigtail back tightly against the bolt head or wire run so no sharp end can catch a glove, brake line, tire warmer, or cleaning rag.
A finished wire run should look deliberate. It should have steady tension, uniform twists, minimal excess length, and a clear tightening pull on every secured fastener.
A Practical Direction Check
Imagine placing a wrench on the bolt head and turning it counterclockwise to loosen it. The safety wire should become tighter immediately. If it goes slack before resisting rotation, the wire is routed incorrectly.
This check takes seconds and prevents the most common safety-wire mistake. Do it on both bolts, even when the finished work looks clean.
Common Caliper Safety-Wiring Errors
The first error is wiring bolts in the wrong direction. Neat wire that assists loosening is worse than no wire because it can pass a casual visual inspection. Always verify tightening direction rather than copying a wire pattern from another motorcycle.
The second is using too much wire between fasteners. Long spans create slack and vibration. Keep the route direct while ensuring the wire cannot rub against the brake rotor, wheel, fork leg, brake line, or suspension components through the full range of steering and suspension movement.
The third is overtightening the wire. Safety wire should be taut, not loaded like a tension cable. Excessive tension can break the wire during heat cycles or make future service unnecessarily difficult.
Another common mistake is using a caliper body feature as an anchor without confirming it is suitable. Do not wire to brake lines, bleed screws, pad pins, or unrelated fasteners simply because they are nearby. Use drilled bolts and approved anchoring points that provide the correct direction of pull.
Finally, do not ignore the sharp tail. A properly folded pigtail is a small detail, but it matters in a working paddock. Your gloves, hands, wheel covers, and nearby wiring will thank you.
Inspection Before Every Track Day or Race
Safety wire should be part of your brake inspection routine, not a one-time installation. Before loading the bike, inspect every wire run for broken strands, looseness, corrosion, rubbing, and sharp exposed ends. Confirm the caliper bolts have not shifted and that the wire remains tight after wheel removal or brake service.
After the first session on a newly prepared bike, inspect the calipers again while the bike is in the paddock. Heat and vibration can reveal an interference issue that was not obvious on the stand. Look for wire touching the fork, rotor carrier, wheel, brake line, or tire warmer.
If you remove a caliper for tire changes, replace the safety wire after reinstallation. Never reuse a wire run that has been cut, untwisted, kinked, or stretched. Stainless safety wire is inexpensive compared with the braking hardware it secures.
For riders building a serious track or race package, start with quality braking components, correct fitment, and hardware designed for repeated service. AXF Race Parts supports race-prepared sport bikes with performance-focused components that help make critical jobs like caliper prep cleaner and more reliable.
A properly safety-wired caliper should not draw attention because it looks dramatic. It should inspire confidence because the torque is correct, the wire direction is right, the inspection is easy, and the brakes are ready for the next hard braking zone.