

Race Clutch Adjustment for Track-Ready Control

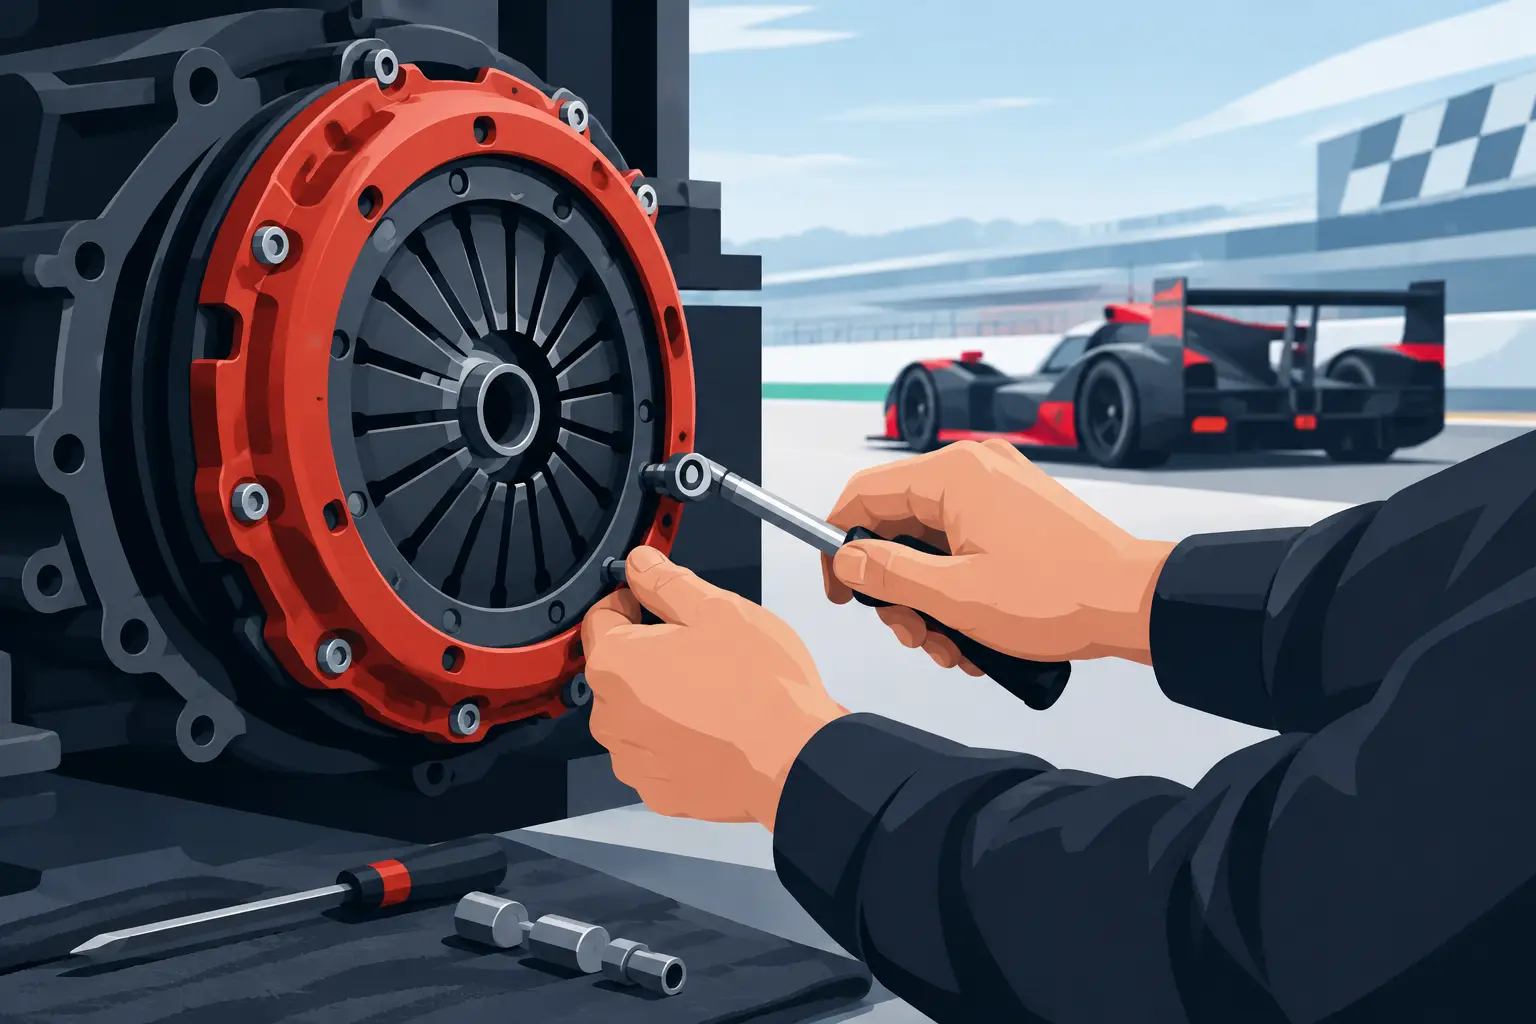
A clutch that engages too close to the bar can ruin a clean launch. One that drags at a stop can make neutral difficult, load the gearbox, and turn a precise downshift into a fight. Race clutch adjustment is not a cosmetic setup detail – it is part of making a track bike predictable under braking, on corner exit, and in the paddock.
The goal is not simply to make the lever feel light or to move the engagement point wherever it seems comfortable. The correct setting gives the clutch enough release to disengage fully, enough running clearance to avoid constant pressure on the pack, and a repeatable lever feel as the engine and oil reach operating temperature.
What Race Clutch Adjustment Actually Controls
On a cable-operated clutch, adjustment changes cable free play and, in some cases, the relationship between the lever, cable, and actuator arm. On a hydraulic clutch, there is usually no routine external free-play adjustment at the lever. Lever reach may be adjustable, but proper disengagement depends on master-cylinder condition, fluid condition, clutch stack specification, and the pushrod or slave-cylinder system.
That distinction matters. Trying to create a cable-style free-play setting on a hydraulic clutch can cause problems, particularly if an aftermarket lever or incorrectly set pushrod prevents the master cylinder piston from fully returning. When the return port is blocked, pressure can build as the system heats up. The clutch may begin to slip even though the lever is released.
For a cable clutch, a small amount of free play at the lever is essential. It confirms the cable is not holding the clutch partially disengaged. The exact specification belongs to the motorcycle service manual and the clutch manufacturer, but the principle stays the same: you should feel a brief amount of light lever movement before the cable begins applying release force.
Start With the Parts Before the Adjuster
Adjustment will not correct worn friction plates, warped steel plates, weak springs, notched basket fingers, or an incorrect clutch stack height. A race bike that suddenly develops drag or slip after a clutch service deserves an inspection before anyone starts chasing lever settings.
Check that the clutch pack is assembled in the correct order, including any judder spring, special first friction plate, or offset plate required by the engine. Confirm spring bolts are tightened to the manufacturer’s torque specification. Inspect the basket and inner hub for grooves where the plate tabs contact them. Deep notching can keep plates from separating cleanly, creating drag that feels like an adjustment issue.
Oil choice also has a direct effect on clutch behavior. A wet clutch needs motorcycle-specific oil with the appropriate friction characteristics. Fresh oil can change lever feel and engagement slightly, while overheated or contaminated oil can make a clutch inconsistent. If the bike has a slipper clutch, use the manufacturer’s specified stack configuration and spring arrangement. Those components are designed as a system, not as mix-and-match tuning hardware.
How to Adjust a Cable-Operated Race Clutch
Begin with the engine off and the handlebars centered. Inspect cable routing first. The cable should move freely without sharp bends, pinching at the steering head, or contact with bodywork, steering dampers, or aftermarket clip-ons. Turn the bars lock to lock and make sure the free play does not disappear at either stop.
Back off the lever adjuster to create extra slack. Then use the lower cable adjuster near the engine to establish the basic setting. Once the cable has light tension, return to the lever adjuster for fine tuning. This approach preserves enough adjustment range at the handlebar for quick paddock corrections.
After adjustment, pull the lever several times and recheck the free play. Cable housings seat, ferrules settle, and a setting that looked correct on the first pull can become too tight. Secure the locknuts without changing the adjuster position, then test the lever again.
With the bike upright and the rear wheel safely clear of the ground if using a stand, start the engine and select first gear with the clutch pulled in. A slight wheel rotation can be normal due to oil drag, but the wheel should not drive aggressively and the bike should not creep forward. Shift into neutral, select gears, and test several engagement cycles after the engine reaches temperature.
Do not set a cable clutch with zero free play just because it gives a higher engagement point. As the engine warms, cable length, engine cases, and clutch components change dimension. A setting that works in the garage can hold the clutch partially released after a hard session. That produces heat, accelerates plate wear, and can lead to slip when power matters most.
Hydraulic Clutches Need a Different Check
For hydraulic systems, begin by checking fluid level, fluid age, and visible leaks around the master cylinder, line fittings, and slave cylinder. Dark fluid, a spongy lever, or a lever that comes closer to the bar after repeated pulls points toward service needs rather than adjustment.
Bleed the system using the brake fluid type specified by the motorcycle manufacturer. Keep fluid off painted surfaces, fairings, tires, and brake components. If the lever remains inconsistent after a correct bleed, inspect the master-cylinder piston, slave-cylinder seals, clutch pushrod, and release bearing where applicable.
Aftermarket levers deserve extra attention. A lever may fit the perch while still using the wrong piston contact geometry. This can alter lever ratio, limit piston return, or create excessive travel. On a race build, only use a lever designed specifically for the master cylinder and motorcycle application. Fitment is performance and reliability, not just appearance.
Recognize Drag, Slip, and a Bad Engagement Point
Clutch drag and clutch slip are often confused because both make the bike feel wrong. Drag means the clutch is not fully separating when the lever is pulled. The usual signs are difficult neutral selection, a hard first-gear engagement, creeping at a stop, and resistance when pushing the bike in gear with the lever pulled.
Slip means the clutch is not holding fully when the lever is released. Engine rpm rises faster than road speed, often first under hard acceleration in a tall gear or at peak torque. A too-tight cable, blocked hydraulic return port, weak springs, worn plates, incorrect oil, or an unsuitable stack height can all contribute.
A high or low engagement point alone is not proof of a problem. Riders have different preferences, and lever reach adjusters can position the lever for hand size without changing actual clutch operation. What matters is consistency. The clutch should release cleanly, engage predictably, and retain its behavior through a full session.
Slipper Clutches and Track Setup
A slipper clutch adds another layer to race clutch adjustment. Its ramp mechanism manages back-torque during aggressive downshifts, reducing rear-wheel hop and instability. It does not eliminate the need for correct clutch clearance, stack height, or hydraulic health.
Many race-oriented slipper clutches allow changes to spring preload, ramp angles, or secondary springs, depending on the design. These settings influence how much engine braking reaches the rear tire and how the bike behaves during corner entry. More slip on deceleration can calm the rear tire, but too much can reduce the direct connection some riders want when setting entry speed.
Treat those changes as controlled setup work. Make one change at a time, record the installed configuration, and test it in comparable conditions. Do not compensate for poor downshift technique, a badly tuned auto-blipper, or a dragging clutch by randomly changing slipper settings.
Keep It Consistent Between Sessions
Check clutch free play when the bike is cold, then confirm it again after a session. Cable systems may need minor attention as new cables bed in or as a clutch pack wears. A quick lever check should be part of the same routine as inspecting tire pressures, chain tension, brake lever feel, and fasteners.
If adjustment changes repeatedly, stop treating it as routine maintenance. Investigate cable stretch, a slipping adjuster, a failing hydraulic seal, clutch wear, or a problem inside the basket. Race preparation rewards small checks, but it also demands knowing when a small symptom signals a larger mechanical issue.
A properly set clutch will not make up for a poor launch or missed downshift, but it gives your inputs a clean, dependable result. Set it to specification, verify it hot, and let the bike deliver the control its race components were built to provide.