
How to Fit Race Fairings on Your Track Bike

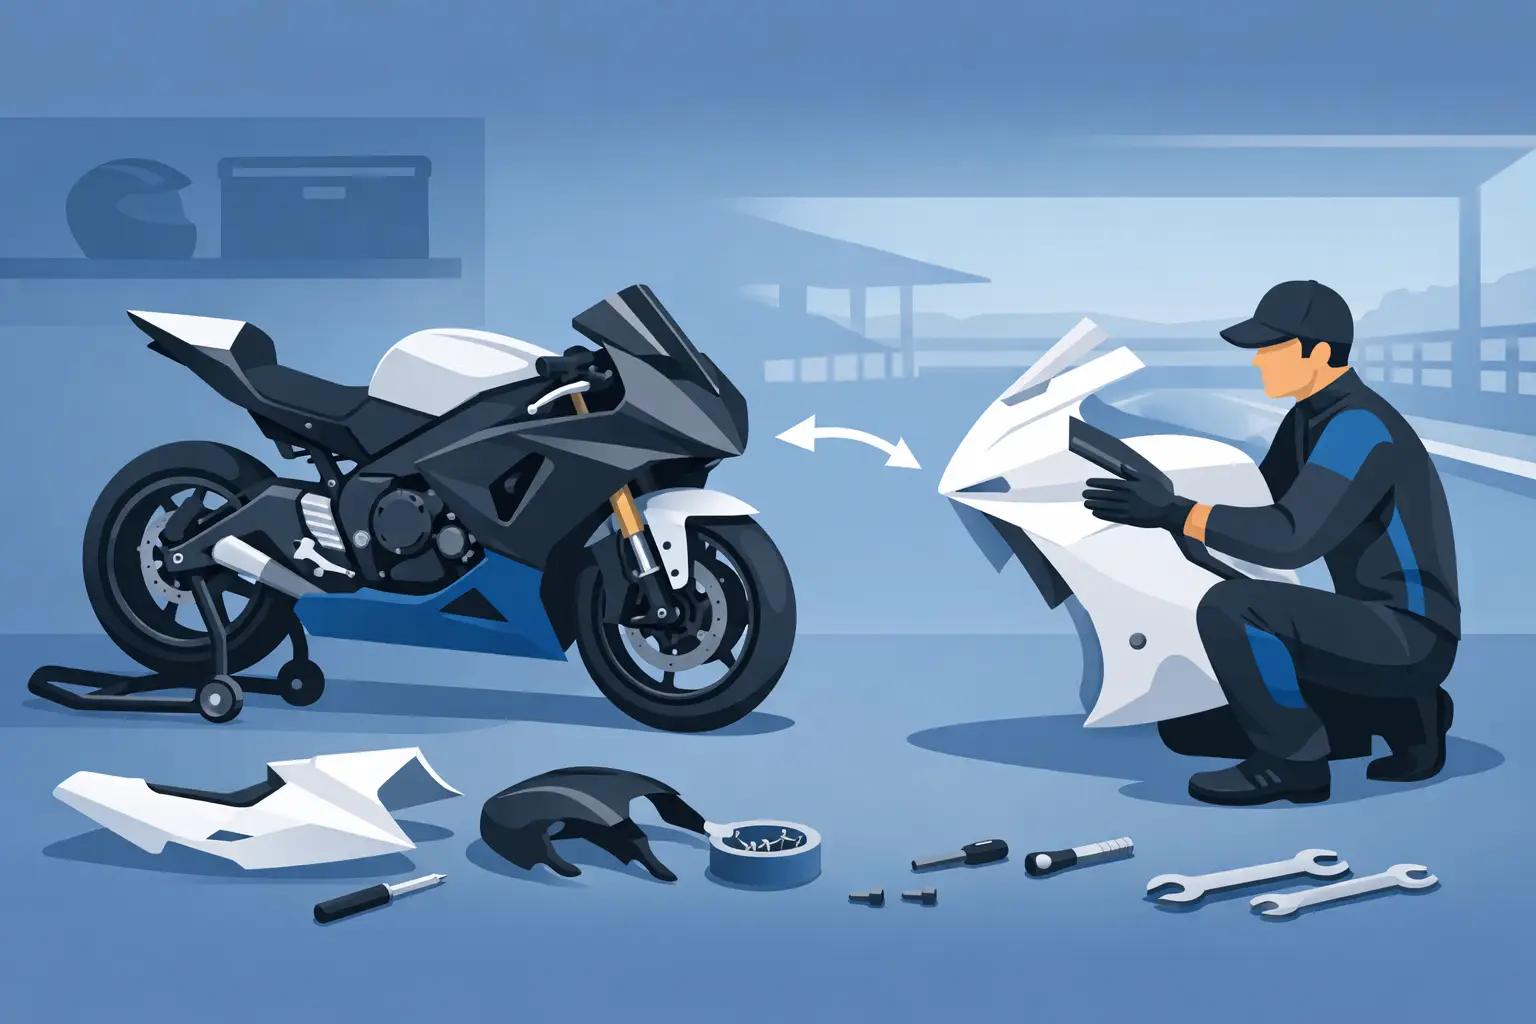
A race fairing kit should not need to be forced into position. If it does, stop and find the source of the load before you drill, trim, or tighten anything. Learning how to fit race fairings properly protects the bodywork, keeps critical components clear, and gives your track bike the clean, serviceable finish it needs between sessions.
Race bodywork is built for track use, not for the loose tolerances of damaged street panels, missing brackets, or improvised hardware. Even a high-quality kit can fit poorly when the motorcycle has a bent stay, nonstandard radiator mounts, aftermarket clip-ons, or crash damage hiding beneath the original plastics. Start with alignment, work methodically, and make every final hole only after the panels sit naturally.
Start With the Right Fairing Kit and Mounting Hardware
Before installation, confirm that the fairing set matches your exact motorcycle model and year. Fitment is more than the outer shape of the bike. Mounting points, ram-air ducts, headstock areas, exhaust routing, radiator size, and tail subframe design can all vary between generations.
A race kit commonly includes an upper fairing, lower belly pan, tail section, and sometimes side panels, air ducts, or a seat pad. It may be supplied undrilled, partially drilled, or drilled for OE-style mounts. Undrilled fiberglass bodywork is normal in racing because it lets you position panels around your individual bike and preferred hardware setup.
Use purpose-built fasteners rather than relying entirely on original street-bike screws and clips. Dzus-style quarter-turn fasteners are popular for frequently removed panels, while rubber well nuts, nylon washers, and stainless hardware reduce vibration damage. Have these items ready before you start:
- Metric sockets, Allen keys, and a small torque wrench
- Drill and sharp drill bits sized for your selected fasteners
- Masking tape, marker, ruler, and center punch
- Dzus fasteners or well nuts, plus nylon washers and spare hardware
- Rotary tool or file for controlled trimming
- Blue threadlocker for metal-to-metal fasteners where appropriate
Do not assume every opening, bracket, or fastener from the stock bodywork belongs on a race setup. Remove only what the race kit eliminates, and retain components needed for safe running, such as the radiator, oil cooler, intake ducts, wiring supports, and any required catch-can system.
How to Fit Race Fairings Without Forcing the Panels
Begin with the motorcycle clean, stable, and supported on front and rear paddock stands. Remove the street bodywork carefully and inspect the bare bike. This is the time to find cracked fairing stays, bent radiator tabs, loose intake components, or damaged subframe mounts. New bodywork will expose those problems rather than hide them.
Fit the upper fairing first. It establishes the position of the screen, nose, side panels, and front mounting points. Install the fairing stay and any brackets loosely, then place the upper onto the bike without drilling holes or fully tightening hardware. Check the distance around the forks at full steering lock, the front wheel at full compression if possible, the clip-ons, brake lines, clutch cable, and ram-air intake.
The panel should sit centered relative to the wheel and fuel tank. If one side is visibly high or pulled back, do not correct it by tightening a bolt harder. Loosen the surrounding mounts and determine whether the fairing stay, a duct, a bracket, or the panel itself is causing the conflict. A small adjustment at the stay can change alignment across the entire front end.
Next, test-fit the lower belly pan and side panels. On many sport bikes, the lower is where fitment becomes more sensitive because it must clear headers, the oil filter, the radiator, and the side stand area if the stand remains installed. Check that it does not contact the exhaust at any point. Exhaust movement and engine vibration can quickly melt or crack fiberglass that seemed clear in the garage.
If the lower fairing is designed to retain fluids for track regulations, verify its drain plug position before final mounting. You need enough access to service the oil without turning a routine oil change into a bodywork removal job. Some riders use a removable lower or a clearly positioned access hole, depending on the rules of their organization and the design of the kit.
Fit the tail section after the front and lower panels are positioned. Confirm clearance around the rear tire through suspension travel, the exhaust outlet, the seat pad, and any quick-release tank or seat hardware. A race tail should not interfere with body movement when you hang off the bike, and it should allow practical access to the battery, electronics, and rear subframe fasteners.
Mark, Drill, and Secure Each Mounting Point
Once every panel is sitting correctly, use masking tape over the proposed drilling areas. Tape gives you a clear marking surface and helps prevent the drill bit from wandering on gel coat or fiberglass. Mark holes only while the panels are held in their natural position.
Drill a small pilot hole first, then enlarge it to the required size. This approach is cleaner and gives you room to make small corrections if necessary. Support the panel from behind when drilling and avoid pushing aggressively through the material. Fiberglass can splinter at the exit point, especially with a dull bit.
Install one fastener at a time and recheck alignment after each hole. Do not drill every mounting point in one pass, remove the fairing, and expect it to return perfectly. The order matters. Secure the key front mounts first, then the side connections, then the lower and tail attachments. Keep all hardware lightly snug until the entire kit is installed.
Nylon washers are a simple upgrade with a real benefit. They spread the fastener load across the panel and help protect painted or gel-coated surfaces from cracking. Do not overtighten. Fairings need to be retained securely, but crushing fiberglass around a bolt hole creates stress cracks that grow with vibration.
Check the High-Risk Clearance Areas
A static fit in the garage is only the first test. Before track use, inspect the areas most likely to cause a failure under heat, steering movement, or suspension load.
At the front, turn the bars lock to lock and watch brake lines, switchgear, levers, and fork tubes. With the bike supported safely, inspect tire clearance and make sure the front fender cannot contact the lower edge of the fairing.
Around the engine, check the headers, radiator, oil cooler, hoses, and engine covers. Heat shielding may be necessary near exhaust sections, but shielding is not a substitute for adequate physical clearance. If a panel is already touching a hot component, trim and reposition it before adding any thermal barrier.
At the rear, inspect the tire, chain, sprocket area, rear brake line, and exhaust. If you have changed ride height, installed rearsets, fitted a different shock, or converted to a race subframe, do not assume standard fairing clearances still apply. A setup that clears on a paddock stand may touch under full compression.
Trim Only When the Fitment Requires It
Minor trimming is common with race fairings, particularly around aftermarket exhausts, oversized radiators, case covers, frame sliders, or non-OE rearsets. The key is to trim conservatively. Remove a small amount, refit the panel, and repeat. A large cut cannot be put back.
Use a rotary tool, fine file, or sanding block to finish edges cleanly. Round the corners of any opening rather than leaving sharp inside angles, which can become crack starters. If you need to make a substantial cut for a case cover or exhaust, reinforce the surrounding area if the panel loses support.
Avoid trimming just to compensate for a mounting problem. If a panel is under tension because the upper stay is bent or a bracket is misplaced, cutting the fiberglass may make the current installation look better while creating poor alignment elsewhere.
Finish the Job for Fast Trackside Service
Once fitment is confirmed, remove the bodywork if you plan to paint it, then reinstall it with the final hardware. Mark fasteners that need regular inspection and carry spares in your track box. A few extra quarter-turn fasteners, washers, well nuts, and screws can save a race weekend.
After the first heat cycle and first track session, inspect every mounting point. Fiberglass settles, brackets move slightly, and vibration reveals clearance issues that are invisible in the shop. Look for fresh rub marks, heat discoloration, loose fasteners, and stress around drilled holes.
Well-fitted race bodywork does more than improve the bike’s appearance. It makes maintenance faster, protects essential components, supports a professional paddock setup, and lets you focus on braking markers instead of a panel rattling at speed. Take the time to align it correctly now, and every removal, refit, and track session becomes easier.