

How to Wire Rain Light for a Race Motorcycle

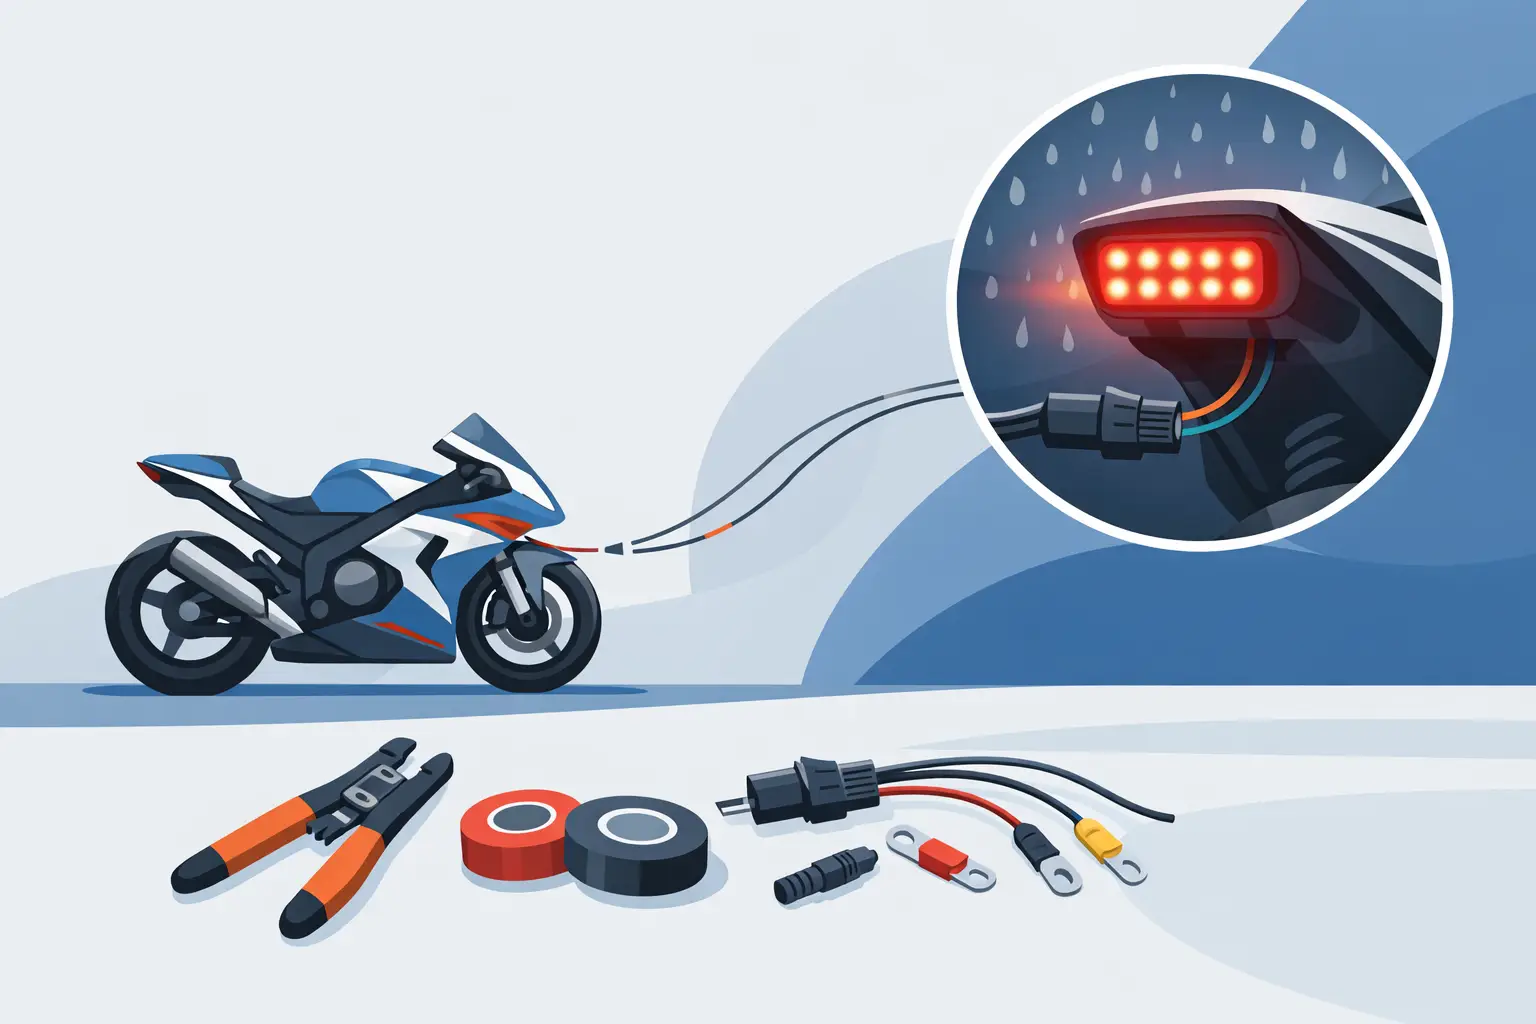
A race rain light is a small component with a major job: making your bike visible when spray, low light, and traffic close the gap between riders. If you are learning how to wire rain light systems on a track motorcycle, treat it as a safety circuit, not an afterthought. A clean, fused, vibration-resistant installation keeps the light working when conditions turn bad and inspection time gets tight.
For most race-prepared sport bikes, the best approach is a dedicated switched circuit with correct wire gauge, protected connections, and a cockpit switch that is easy to reach with gloves on. The exact layout depends on the rain light’s current draw, your bike’s existing harness, and the rules of the organization you ride with.
Start With the Rain Light and Rulebook
Before cutting wire, confirm what your sanctioning body requires. Some organizations specify rain light position, minimum brightness, whether the light must flash, and whether it must operate whenever the bike is running. Others only require a functioning rear light in wet sessions. A road-legal tail light is not always bright enough to satisfy race regulations or to cut through spray at speed.
Use a purpose-built LED rain light rated for motorcycle or motorsport use. LED units draw little current, tolerate vibration well, and illuminate faster than older bulb-style lamps. Check whether your chosen light has two wires for a simple positive and ground connection, or additional wires for steady and flashing modes. Do not assume wire colors are universal. Read the manufacturer’s wiring diagram first.
Choose the mounting location before building the harness. The light should sit high and centered at the rear of the motorcycle where riders behind can see it clearly. Common locations include the tail section, rear number board, or a dedicated bracket beneath the seat unit. It must not interfere with wheel travel, the exhaust, rear stand use, or quick bodywork removal.
Parts You Need to Wire a Rain Light
A professional installation does not require a complicated electrical system, but it does require the right components. For a typical low-current LED rain light, use automotive-grade stranded copper wire, heat-shrink butt connectors or soldered splices, adhesive-lined heat shrink, split loom or braided sleeving, and quality zip ties or P-clamps.
You will also need an inline fuse holder and a properly sized fuse. Most LED rain lights draw well under 1 amp, but use the light manufacturer’s stated current draw to select the fuse. A 2-amp fuse is often appropriate for a single LED unit, though the correct size always depends on the circuit. The fuse protects the wire and component from a short circuit. It should be placed close to the power source, not next to the light.
For switching, use a weather-resistant handlebar switch, a dash-mounted toggle, or a button integrated into a race switch assembly. A basic switch can handle the current of many LED lights directly. If the rain light has a higher draw, if you are adding multiple lights, or if you want to minimize current through a small control switch, use a relay.
Avoid household wire, open-barrel connectors without proper crimping tools, and electrical tape as a permanent repair. Heat, vibration, water, and fairing removal will expose weak wiring quickly.
How to Wire Rain Light on a Race Bike
The standard circuit is straightforward: switched 12-volt power feeds a fuse, then a switch, then the rain light’s positive lead. The negative lead runs to a known-good chassis ground or directly back to battery negative.
The preferred power source is usually a switched 12-volt circuit. This means the rain light cannot be left on accidentally when the bike is parked, and it will shut off with the ignition. On a race bike, a switched accessory lead, tail light feed, or an approved output from a race wiring harness may be suitable. Verify the circuit with a multimeter rather than relying only on wire color.
If you use the original tail light circuit as the trigger or power source, account for the bike’s electrical layout. Some modern motorcycles monitor lighting circuits and may register a fault if a load changes. Others use a body control module rather than a simple switched wire. In these cases, a relay or a dedicated fused accessory circuit is the cleaner solution.
Basic direct-switched wiring
For a low-draw LED light, wire the circuit in this order:
- Run a positive lead from a switched 12-volt source to an inline fuse holder.
- Continue from the fuse holder to the input terminal of the rain-light switch.
- Run wire from the switch output to the positive lead on the rain light.
- Connect the rain light ground lead to a clean chassis ground or battery negative.
- Protect the finished harness with loom, heat shrink, and secure routing.
Keep the fuse as close to the switched power pickup as practical. If the wire chafes against a bracket or gets pinched beneath bodywork, the fuse should open before the harness overheats.
Wiring with a relay
A relay is useful when the rain light is part of a larger accessory setup, when you want a small low-current switch on the bars, or when you are working with a higher-output light. Use a standard four-pin relay with terminals identified by number.
Terminal 30 receives fused battery or switched power. Terminal 87 sends power to the rain light. Terminal 85 goes to ground, and terminal 86 receives the switched signal from your control switch. In this arrangement, the cockpit switch activates the relay coil, while the relay carries the light’s operating current.
A relay adds components and wiring, so it is not automatically better for every single LED rain light. For a simple 0.5-amp lamp, a quality direct-switched circuit is usually cleaner and easier to diagnose. Use the relay when its advantages fit the electrical demand and the bike’s wiring plan.
Choose the Right Wire Gauge and Ground
For most single LED rain lights, 20- or 18-gauge automotive wire is sufficient. Many builders choose 18-gauge because it is durable, easy to source, and gives additional margin without being bulky. If the run is long, the light is high-output, or multiple rear safety lights share a circuit, move to 16-gauge wire.
Ground faults cause many intermittent lighting problems. Do not attach the ground wire under a painted, dirty, or loose fastener and assume it will work. Use a factory ground point where possible, or create a solid connection on clean bare metal with a ring terminal and secure hardware. Apply heat shrink over the terminal barrel and route the wire so vibration cannot work the connection loose.
Running a dedicated ground back to battery negative takes more wire, but it can be the best choice on extensively modified race bikes. This approach eliminates uncertainty when the subframe, tail section, or rear bracket has been powder-coated, isolated, or replaced.
Route the Harness for Serviceability
A rain light circuit should survive bodywork removal. Route wiring along the main harness where possible, keeping it away from the chain, rear tire, shock linkage, exhaust, and sharp fiberglass or carbon-fiber edges. Leave enough slack at the tail section for service, but not enough for the harness to rub or snag.
Use grommets wherever wire passes through a bracket, seat base, or bodywork. Secure the harness at regular intervals with zip ties, but do not cinch them so tightly that they crush insulation. On a race motorcycle, a harness that looks tidy is usually easier to inspect, diagnose, and repair between sessions.
If your tail section removes frequently, install a quality waterproof two-pin connector between the chassis harness and the rain light. Label the connector if several electrical accessories are located in the same area. This saves time when removing bodywork after a crash or during routine maintenance.
Test Before Tech Inspection
Test the system with the bike stationary before finalizing the routing. With the ignition on, operate the switch and confirm the rain light illuminates in the correct mode. Check it again with the engine running, then wiggle the harness gently near every connector and mounting point. Flickering usually points to a weak ground, poor crimp, or wire under tension.
Make sure the switch position is obvious. A small label or a clearly identifiable switch cap helps riders activate the light quickly when rain begins or race control calls for wet-session equipment. If your organization requires the light to stay on continuously, choose a wiring configuration that prevents accidental shutoff.
Once the circuit passes testing, inspect it after your first track day. Heat cycles, vibration, and repeated fairing removal reveal routing issues that are not visible in the garage. A properly wired rain light is inexpensive insurance when visibility disappears, so build the circuit with the same care you give braking, controls, and every other race-critical system.