Race Switchgear Fitment Guide for Sport Bikes
A race switchgear fitment guide matters most when the bike is already apart, the clip-ons are on the bench, and you realize the new controls do not match the bar diameter, connector style, or brake master layout. That is where good fitment saves time, avoids wiring mistakes, and keeps a clean cockpit from turning into a rework job.
Race switchgear is a simple upgrade on paper. In practice, fitment depends on how your bike is built now, not just what it was when it left the factory. Stock road controls are designed around OEM switch housings, harness length, and street equipment. Race switchgear strips that down for fast access, reduced clutter, and cleaner bar ergonomics, but only if the parts match your exact setup.
What race switchgear actually needs to match
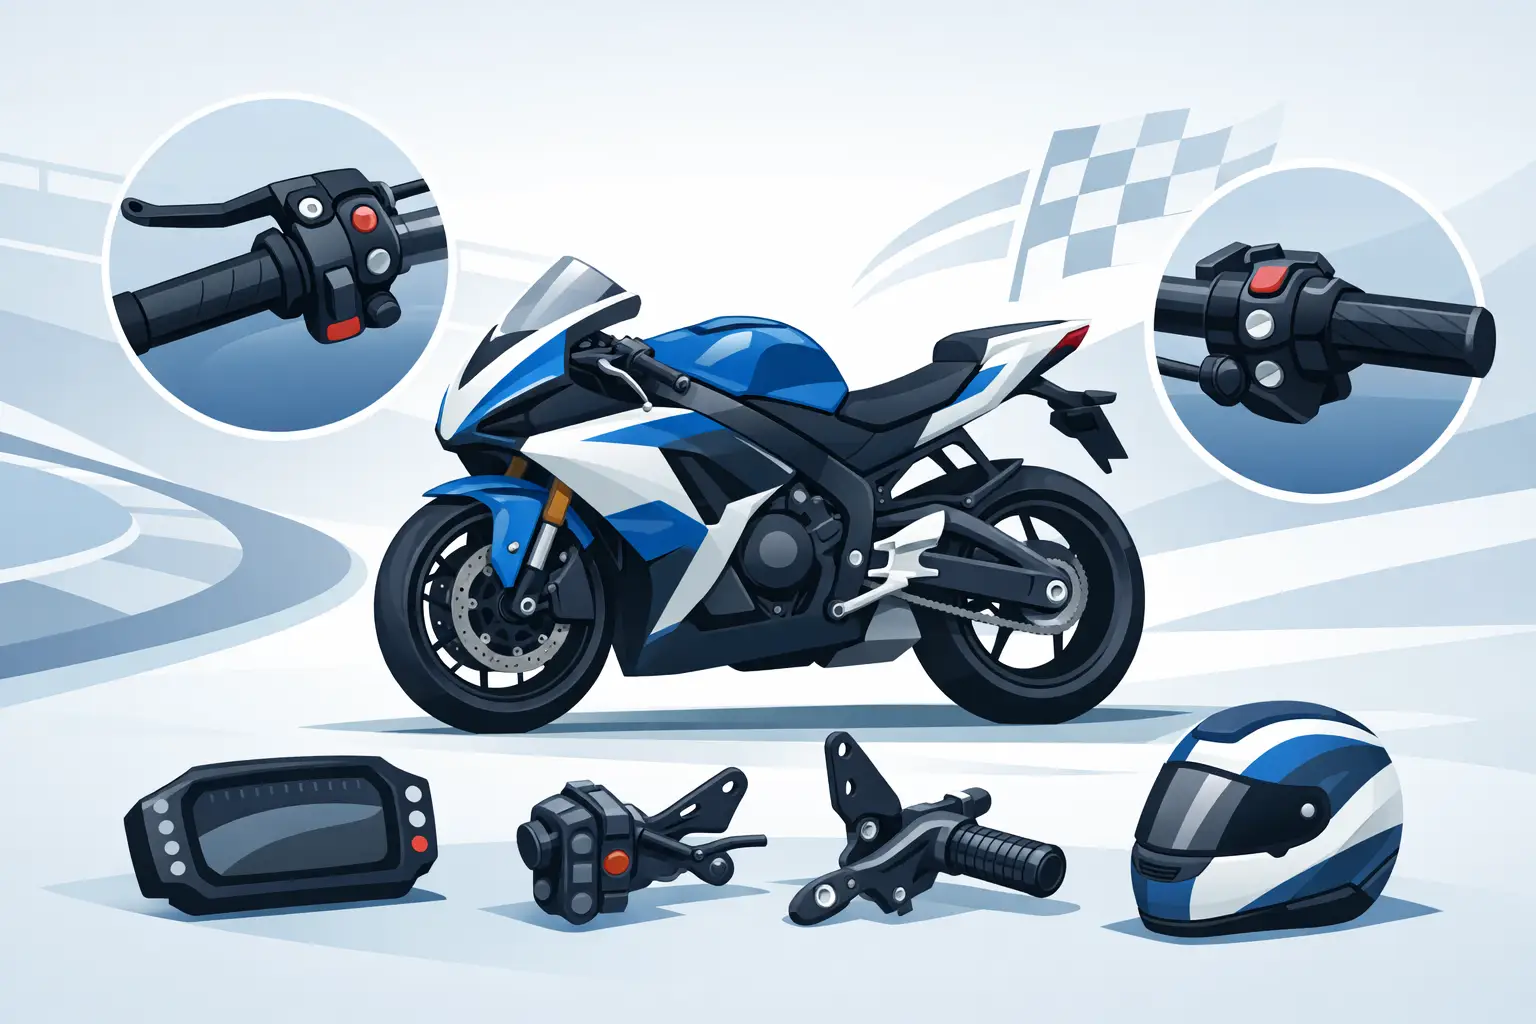
The first fitment check is mechanical. Most race switch assemblies mount to 22 mm bars, but not every cockpit uses the same dimensions in the same places. Clip-ons, aftermarket handlebars, and integrated throttle tube systems can change available mounting space fast. If your front brake master cylinder clamp, throttle housing, lever perch, and steering damper bracket already take up most of the real estate, the switch module may physically fit the bar but still not fit the layout.
The second check is electrical. Some race switchgear is built as a plug-and-play option for specific motorcycles. Other kits are universal and require custom wiring. That difference is critical. A universal right-side start/stop switch may be compact and race-focused, but if your bike uses model-specific connectors, OEM-style pinouts, or ECU-based logic for starter and kill functions, fitment is not just about bolting it on.
The third check is purpose. A track bike, race bike, and performance street bike do not need the same functions. If you still run headlights, turn signals, horn, and ignition lock on the street, a pure race switch setup may be too limited. If the bike is dedicated to the track, fewer functions usually mean less clutter and fewer distractions.
Race switchgear fitment guide by control layout
Start from the left and right sides separately. That is the cleanest way to avoid overlap issues.
Right-side switchgear
The right side usually carries the highest fitment risk because it shares space with the throttle assembly and front brake controls. Check whether you are running a stock throttle housing, a quick-turn throttle, or a full race throttle kit. Some switch modules are designed to pair with specific throttle systems and some are not. A compact switch that works next to one throttle body may interfere with another because of clamp width or cable exit direction.
Also measure the gap between the throttle and brake master cylinder clamp. Brembo and other aftermarket master cylinders can change the spacing compared with OEM controls. If the switch body is wider than expected, you may end up compromising brake lever angle just to make everything fit. That is not a trade worth making.
Left-side switchgear
The left side is usually easier, but not always. The switch assembly has to clear the clutch perch or clutch master cylinder, steering damper hardware, and any bar-mounted adjusters or remote controls. On some bikes, especially heavily modified superbikes, the left switch area gets crowded once lap timer buttons or thumb rear brake hardware are added.
Button count matters here. A minimal left-side module for pit limiter, traction control adjustment, or lap trigger can fit where a larger multi-button road-style unit cannot. More function is not automatically better. The right answer depends on what you actually use on track.
Bar diameter, mounting space, and clamp style
Most riders check diameter and stop there. That is not enough. You need to confirm usable straight bar length. Some bars taper, some clip-ons place the bend close to the control area, and some aftermarket top yoke and fairing stay combinations limit where controls can sit.
Clamp style also affects fitment. Hinged clamps are easier to position on a bike that is already assembled. One-piece clamps can be more compact, but they may require removing grips, throttle components, or lever perches during installation. If you are building a fresh race bike, that may not matter. If you are upgrading an in-season track bike, installation time matters.
Wiring fitment is where most mistakes happen
Mechanical fitment gets attention because it is visible. Wiring fitment causes more problems because riders assume a switch is compatible if the listing says it fits their model family. You need to confirm the exact year range, connector type, and intended function.
A model-specific switch kit is the cleanest option when available. It is built around the bike’s harness architecture and usually eliminates guesswork. A universal switch can still be the correct choice, especially on custom race builds, but it assumes you know the wiring path and what each circuit needs to do.
Modern sport bikes complicate this further. Functions that used to be simple switched circuits may now interact with ECU logic, dashboard menus, ride modes, or safety interlocks. That does not mean race switchgear is difficult to fit. It means you should not treat a 2023 electronics package the same way you would treat an older cable-throttle bike with basic controls.
Model-specific fitment matters more than brand fitment
A switch that fits one Yamaha R1 generation may not fit the next. The same applies across Ducati Panigale, BMW S1000RR, Kawasaki ZX-10R, Honda CBR1000RR, Aprilia RSV4, Suzuki GSX-R, KTM RC, Triumph Daytona, and MV Agusta platforms. Connector revisions, bar packaging, ECU changes, and fairing bracket differences can all affect the final result.
That is why fitment should always be checked by make, model, and year, not just by manufacturer or engine size. Even if the switch body is physically the same, the harness length or plug style may not be.
This is also where a fitment-based parts source earns its keep. AXF Race Parts focuses on model-specific navigation for exactly this reason. On a category as technical as race electronics and controls, broad compatibility claims are not enough.
Street bike, track bike, or full race build
The correct race switchgear setup depends on the bike’s job.
A street and track crossover bike usually needs compromise. You may want compact controls and better bar feel, but you still need enough functionality to stay legal and usable off track. In that case, a reduced-function street-compatible setup often makes more sense than a full race-only assembly.
A dedicated track-day bike gives you more freedom. You can prioritize starter, kill, and a few useful electronic functions without carrying unnecessary switches. This keeps the cockpit cleaner and reduces accidental input when riding hard.
A full race build is the most specialized case. Here, switchgear often becomes part of a broader control strategy that includes quick-turn throttles, race dashes, programmable ECUs, and rider-adjustable electronics. Fitment is less about retaining factory convenience and more about integrating every control exactly where the rider needs it.
Common fitment errors to avoid
The most common mistake is buying by appearance. A compact billet switch may look ideal, but if it does not match your bar layout or wiring plan, it is the wrong part.
The next mistake is ignoring adjacent components. Riders often check the switch dimensions but forget to account for the brake master cylinder, throttle housing, grip length, or handguard clearance. Race cockpits are tight. A few millimeters can decide whether the setup works.
Another problem is assuming universal means easy. Universal usually means flexible, not effortless. It can be the best choice on a custom build, but only if you are prepared for wiring work.
Finally, avoid overbuying functions. Extra buttons sound useful until they crowd the controls or create confusion on track. The best race switchgear setup is the one you can operate instantly, with gloves on, under pressure.
How to choose the right setup the first time
Start with your bike’s exact year and current control package. Then confirm bar diameter, available mounting space, and what throttle and master cylinders you are using. After that, decide whether you need plug-and-play simplicity or if your build supports universal wiring.
Be honest about the bike’s role. If it still sees real street miles, keep enough function to live with it. If it is track-only, simplify aggressively. The cleaner the cockpit, the easier it is to focus on braking markers, corner entry, and drive.
Fitment is not just a product checkbox. It is the difference between a race-ready control layout and a set of expensive parts that almost work. Get the mechanical spacing right, get the wiring right, and the result is exactly what race switchgear should be – fast, clean, and dependable when the pace goes up.
When you are choosing controls for a performance bike, the best buying decision is usually the least glamorous one: measure first, match the system, and let fitment lead the build.