
Sport Bike Clip Ons Guide for Better Control

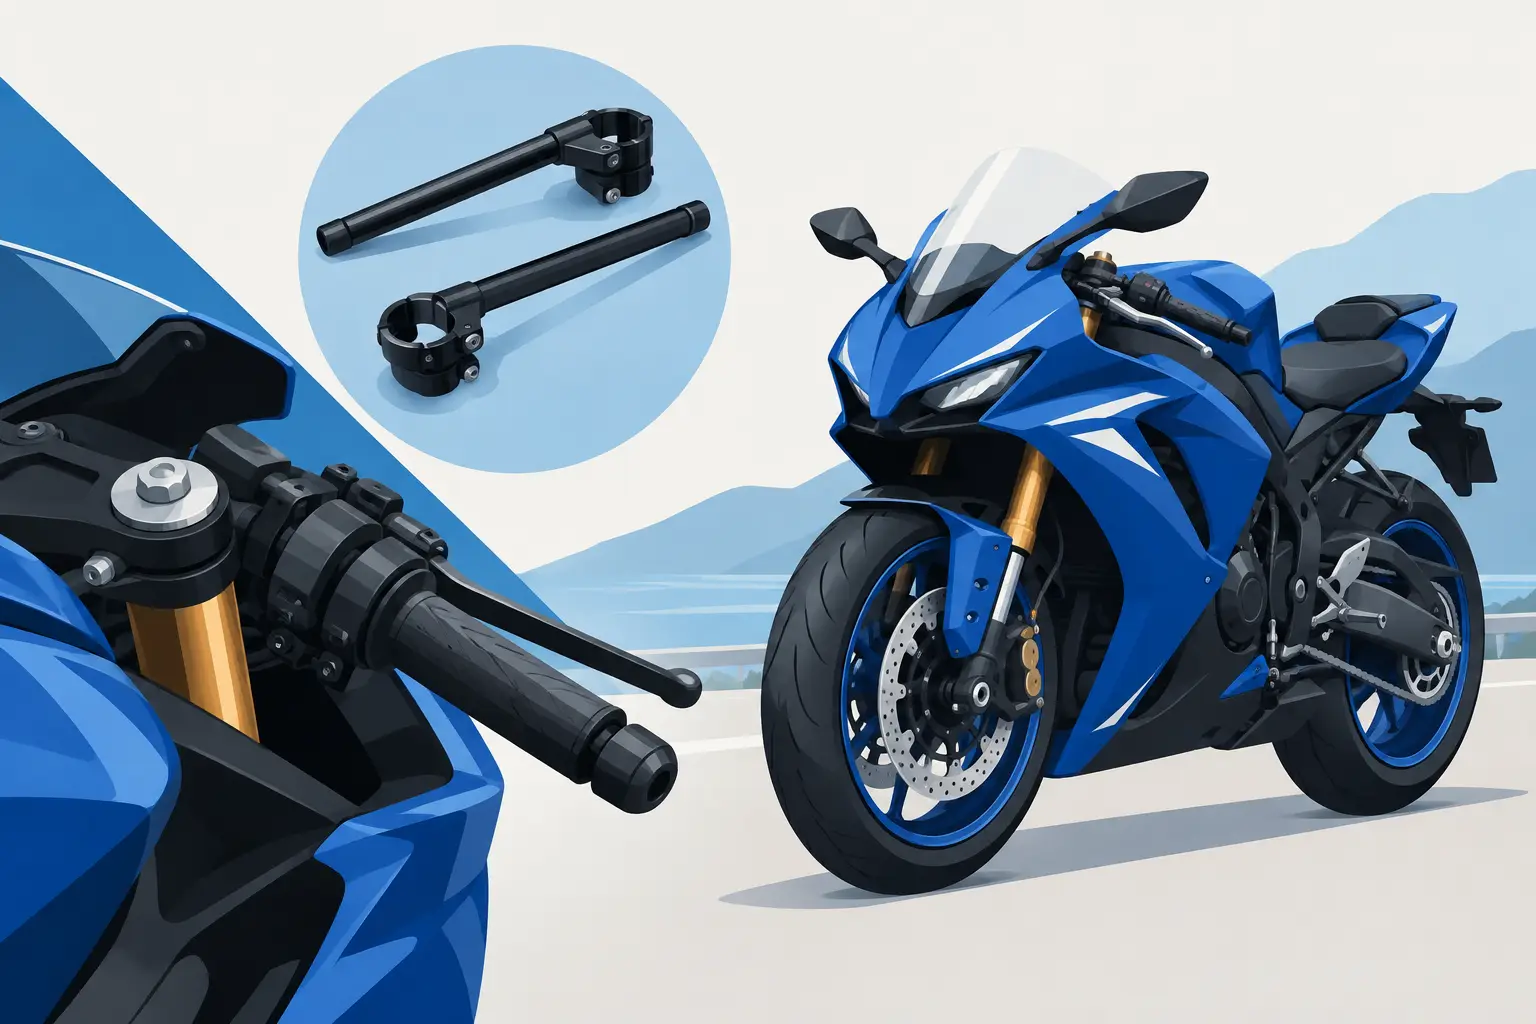
Your front end can have premium forks, race-spec brakes, and fresh tires, but the wrong handlebar position will still make the bike feel slow to turn, difficult to load, and tiring to ride. Clip-ons determine where your hands meet the chassis. That makes them a serious control component, not a cosmetic upgrade. This sport bike clip ons guide covers the measurements, fitment checks, and setup choices that matter before you buy.
What Clip-Ons Change on a Sport Bike
Clip-ons replace the stock one-piece handlebar with two separate bars that clamp directly to the fork tubes or to a dedicated upper triple clamp arrangement. Their main advantage is adjustability. You can alter bar height, angle, width, and rider reach far more precisely than with many OEM setups.
For a track rider, that adjustment helps place more controlled weight through the front tire while keeping the arms relaxed under braking and through corner entry. For a performance street rider, the goal may be less aggressive: a position that improves leverage and feel without creating unnecessary pressure on the wrists during longer rides.
Lower is not automatically faster. A very low bar can reduce wind resistance and improve front-end loading, but it can also close the hip angle, restrict steering input, and create fatigue. The best setup depends on your bike, your body dimensions, your riding pace, and the clearance available around the fairing and fuel tank.
Sport Bike Clip Ons Guide: Start With Diameter and Fitment
Fork tube diameter is the first non-negotiable specification. Most clip-ons are sold by clamp size, commonly 50 mm, 51 mm, 52 mm, 53 mm, 54 mm, 55 mm, 56 mm, 58 mm, or larger on certain machines. Do not estimate this measurement or assume that a component fitting one model year fits every version of that motorcycle.
Measure the exposed fork tube diameter where the clip-on will clamp, or confirm the specification for your exact motorcycle, model year, and fork configuration. An incorrect clamp diameter is not a part you can safely force into service. A clamp that is too large can slip. One that is too small can damage the fork tube, hardware, or both.
You also need to confirm bar tube diameter. Most modern sport bike clip-ons use 22 mm or 7/8-inch control tubes, while some applications use 1 1/8-inch tapered bars. Your throttle tube, switch assemblies, master cylinder clamps, grips, and bar-end components must match the selected tube diameter.
Model-specific fitment is especially valuable on motorcycles with crowded cockpits. Electronic throttle housings, brake reservoirs, steering dampers, dashboard brackets, ram-air ducts, and race fairing stays can all limit the available space. AXF Race Parts focuses on fitment-based shopping because those details decide whether a component is a clean installation or an expensive mismatch.
Above or Below the Top Triple Clamp
The mounting position changes both ergonomics and clearance. Clip-ons mounted above the top triple clamp generally provide a more street-friendly bar height and easier clearance to the tank at full lock. They can be a practical choice for track-day machines that still see road use, or for taller riders who need room to move.
Mounting below the top triple clamp lowers the rider position and can create a more direct race-bike feel. It may also increase the risk of contact between the controls, fairing, tank, and frame at full steering lock. On some bikes, the upper fairing or gauge bracket must be modified or replaced to make a low-mounted setup work correctly.
Do not move clip-ons below the triple clamp simply because a race bike uses that position. Factory and professional race machines are built around a complete package of suspension height, steering geometry, fairing clearance, rearset position, and rider ergonomics.
Choose Rise, Offset, and Bar Angle With a Purpose
Rise is the vertical distance from the clamp centerline to the grip tube centerline. Zero-rise clip-ons place the bars nearly in line with the fork tube clamp, while raised designs lift the grips for added comfort and clearance. A few millimeters can be noticeable on a committed sport bike riding position.
Offset moves the grip area forward or rearward relative to the fork tube. More forward offset creates additional room between the rider and the controls, which can help a larger rider open their upper body and reduce elbow crowding. Less offset keeps the controls closer, often suiting compact riders or motorcycles with a long reach to the stock bars.
Bar angle, sometimes called sweep or down angle, is where fine adjustment produces the biggest gains. Start with both bars aligned evenly and the grips angled slightly downward. Then sit on the bike in your normal attack position, not upright in the paddock. Your wrists should stay close to neutral when your fingers rest on the brake and clutch levers.
If the bars are rotated too far downward, your wrists can be forced into extension during hard braking. Too flat or too high, and your elbows may flare while your hands lose a natural line to the levers. Small changes are the right approach. Move the angle a few degrees, test it, and mark a reference point before changing it again.
Control Clearance Is a Safety Check, Not a Final Detail
After fitting clip-ons, turn the steering fully from lock to lock with the front wheel unloaded and then with the suspension compressed if possible. Check both sides carefully. The levers, master cylinder, switchgear, throttle cables, brake hoses, clutch line, and bar ends must clear the tank, fairing, windscreen, instruments, and frame.
Throttle operation deserves special attention. The throttle must snap closed freely with the bars centered and at both steering stops. A cable that is routed tightly after a bar swap can pull the throttle open when the steering is turned, or prevent it from returning properly. Neither issue is acceptable on the street or at speed on track.
Check brake hose routing at full fork extension and compression. A line that appears fine in the garage can become tight under heavy braking as the fork moves through its travel. Make sure reservoir brackets remain secure and that the brake lever cannot contact the fairing, gauge cluster, or windscreen.
On street bikes, full steering lock matters for parking lots, garages, fuel stops, and U-turns. A race-only machine may use steering stops or restricted lock, but that choice should be deliberate and appropriate for the class rules and intended use.
Installation Practices That Protect the Forks
Clean the fork tubes and the inside faces of the clip-on clamps before assembly. Dirt trapped beneath the clamp can mark the fork tube and compromise consistent clamping. Inspect the hardware, use the manufacturer-specified torque values, and tighten pinch bolts evenly in stages.
Do not use excessive torque to compensate for uncertainty. Fork tubes are precision components, and overtightening can distort a clamp, damage threads, or create a stress point where you do not want one. If the clip-ons use separate replaceable bar tubes, confirm that their retaining bolts are also secured to specification.
Before drilling locator holes for switchgear pins, complete your ergonomic setup and verify clearance. Many race clip-ons and switch assemblies are designed to work without OEM locating pins, but parts should never be allowed to rotate under load. If you remove pins, use a suitable method to secure the controls and confirm that the arrangement remains stable after repeated lever use.
Finish the job with a stationary function check: throttle return, clutch engagement, brake pressure, steering sweep, switch operation, and fastener torque. Then take a conservative first ride. The first session after an ergonomic change is for validation, not a personal best.
Pair Clip-Ons With the Rest of the Rider Triangle
Clip-ons work as part of the rider triangle: bars, seat, and foot controls. If you install lower, farther-forward bars while retaining low or rearward footpeg positions, the bike may feel stretched and difficult to support with your legs. Rearsets can restore knee grip, improve ground clearance, and let you carry your torso without hanging on the bars.
Likewise, a taller seat pad or altered rear ride height changes how far you reach to the grips. Make one major ergonomic change at a time whenever possible. That makes it easier to identify what improved the bike and what created a new problem.
For a track-focused setup, aim for secure braking support, clear steering input, and enough space to move inside the bike. For a street-focused sport bike, preserve practical lock-to-lock clearance and a wrist position you can tolerate beyond a short aggressive ride. The right clip-ons should make the front tire easier to trust, not merely make the cockpit look more race-ready.