

How to Install Tyre Warmers Correctly

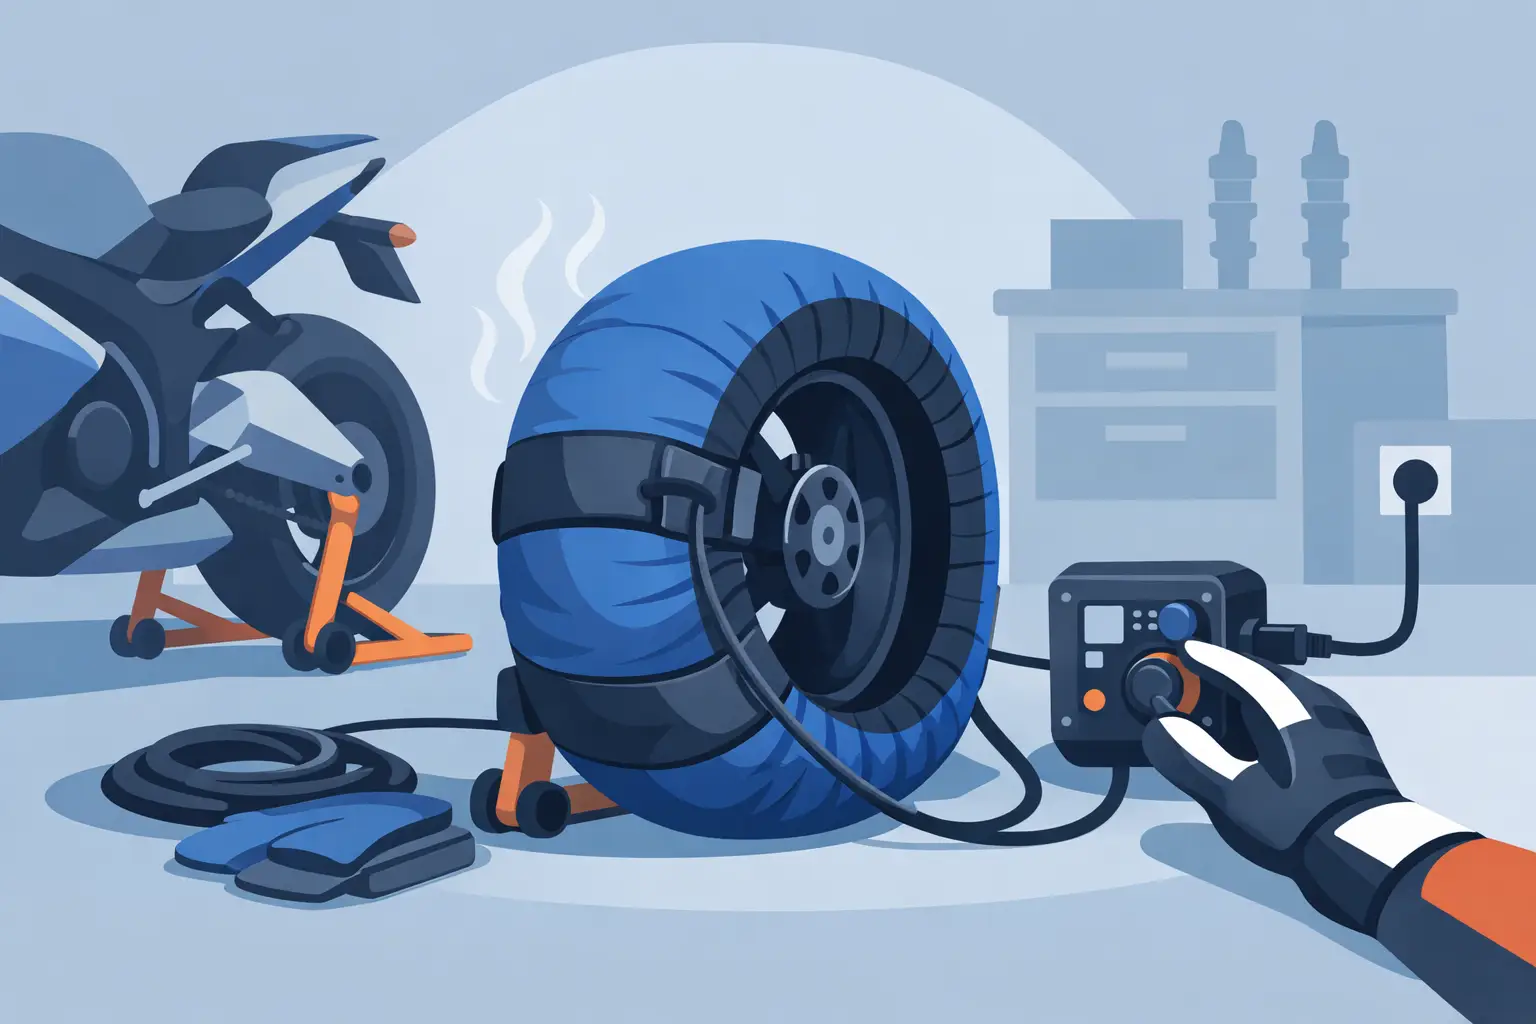
Cold tires waste laps. Worse, they can catch riders out in the first corners of a session when grip is still coming in. If you are learning how to install tyre warmers, the goal is simple – get consistent heat into the carcass and surface without bunching, gaps, or unsafe cord routing.
Tyre warmers are not complicated, but they do need to be fitted the right way. A loose wrap creates cold spots. A twisted power lead becomes a paddock hazard. Installing them with the bike unstable on stands turns a basic pre-session task into a stupid mistake. For track-day riders, club racers, and teams, the details matter because the tire is part of the setup.
What you need before installing tyre warmers
Start with the bike secure on front and rear stands. That is non-negotiable. You need the wheels off the ground, the bike stable, and enough room to rotate each wheel by hand. If you are working in a tight paddock space, sort your extension cords first so you are not stepping over power cables while handling the warmer.
Make sure the tyre warmers match the tire sizes on the bike. Most quality warmers are sized for common race and track dimensions, but fit still matters. A warmer that is too small will fight you and may not cover the full tread. One that is too large can wrinkle or overlap in ways that reduce even heating.
Before you fit anything, inspect the warmers. Look for damaged stitching, worn heating elements, frayed wiring, and loose Velcro. If the inside liner is contaminated with debris, rubber pickup, or moisture, clean it before use. Heat needs direct, even contact with the tire.
How to install tyre warmers step by step
The basic process is the same whether you are using a single-temp set or warmers with adjustable heat settings. Rear first or front first is mostly preference, but many riders start with the rear because there is usually more material to manage.
Rear tire installation
Position yourself on one side of the bike and place the warmer against the tire so the power cord ends up in a practical location, usually toward the rear of the bike where it can route cleanly away from foot traffic and spinning parts. Do not just throw it on and hope the lead lands somewhere convenient.
Wrap the warmer around the rear tire starting at the top or slightly forward of the top. Hold tension on it as you pull it around the carcass. The goal is snug, even contact across the tread surface. As the warmer comes around, smooth it with your hands so there are no air gaps or folds.
Once the warmer is mostly in place, rotate the rear wheel by hand while guiding the remaining section around the tire. This is the easiest way to get full coverage without forcing the fabric. Fasten the Velcro closure firmly, but do not reef on it like a tie-down strap. You want secure tension, not distorted material.
Check both tire shoulders. The warmer should sit evenly from side to side, with no section riding too high on one edge and too low on the other. If one side is exposed, remove it and refit it. Small misalignment means uneven temperature, and uneven temperature means the first laps are no longer predictable.
Front tire installation
The front installs the same way, but it usually goes on quicker because there is less tire width to manage. Again, think about cord direction before wrapping. Keep the lead positioned so it exits cleanly and does not drape across brake components or create tension at the plug.
Lay the warmer onto the tire, pull it around with steady tension, and rotate the wheel as needed to help the fabric seat evenly. Close the Velcro securely and then inspect the full circumference. No bunching. No twisted edge. No section of exposed tread.
If the warmer includes side skirts or extra coverage over the wheel edge, make sure they lie flat. They are there to help retain heat, not to hang loose and catch air or interfere with anything around the fork bottoms or calipers.
Common mistakes when installing tyre warmers
The most common mistake is fitting them loosely. Riders sometimes assume the warmer will do the job as long as it is touching most of the tire. That is not enough. If contact is inconsistent, heat transfer is inconsistent.
The second mistake is plugging them in before checking the wrap. Once the warmer starts heating, a bad fit becomes harder to correct cleanly, and repeated hot handling is hard on the material. Fit first, then power on.
Another issue is poor cable management. Extension cords stretched across the paddock, plugs sitting in water, and leads routed under stands are all avoidable problems. Keep the electrical side organized. Track prep should look controlled because control matters everywhere.
There is also the temptation to install warmers on tires that are still wet from cleaning or from a damp session. That is a bad move. Let the tire dry fully before applying heat. Moisture affects contact and can shorten the life of the warmer.
Setting temperature and heating time
Knowing how to install tyre warmers is only half the job. You also need to use them with the right timing. Most riders and teams allow enough time for the tire to reach full operating temperature through the carcass, not just feel warm on the surface. Depending on the warmer, ambient conditions, and tire construction, that often means around 45 minutes to an hour before the session.
If your warmers have adjustable temperature settings, follow the tire manufacturer’s recommendations first. Different compounds and carcass designs respond differently to heat. More temperature is not automatically better. Too much heat or too much time on heat cycles can hurt tire life.
For many track-day riders, a quality fixed-temp warmer keeps things simple and effective. For racers working with specific compounds, weather swings, and setup changes, variable control offers more precision. The right choice depends on how closely you manage your tire program.
After installation, do this before going on track
Once both warmers are on and powered, do one last walk-around. Confirm the bike is stable on stands. Confirm each warmer is fully closed and seated evenly. Confirm the cords are routed away from walkways and cannot snag when the bike comes off the stands.
Just before the session, unplug the warmers cleanly and remove them without dragging the lining across dirty ground. Start with one wheel, open the closure, and peel the warmer off in a controlled motion. Set it somewhere dry and clean. Do not toss it into a pile of tools, spilled fuel containers, and paddock junk.
If you are checking tire pressure, do it while the tires are hot, based on the tire supplier’s recommendation. Pressure and temperature work together. Warmers are not just there to give you confidence on lap one. They are part of getting the tire into the right operating window.
How to install tyre warmers for best results in real paddock conditions
Real-world paddock use is rarely perfect. It might be cold in the morning, windy in the afternoon, and rushed all day. That is exactly why clean installation matters. A properly fitted warmer reduces variables. It gives you a more repeatable starting point when track conditions are already changing.
If you are working alone, take the extra few seconds to rotate the wheel as you wrap rather than forcing the warmer into place. If you are running generators, make sure the power supply is stable enough for the load. If you are sharing pit space, keep your cords clearly routed and your warmers out of traffic. None of this is glamorous, but it is race-day discipline.
It also pays to match the warmer quality to the level of riding you do. Cheap warmers can work for occasional use, but they often show weaker heat consistency, lower build quality, and shorter service life. Riders who spend serious time at the track usually benefit from stepping up to a better set from a race-proven manufacturer. That is one reason specialized suppliers like AXF Race Parts focus on premium motorsport brands rather than generic accessories.
A tyre warmer should fit correctly, heat evenly, and hold up under repeated use. If any of those three are missing, the product is doing only part of the job.
Final trackside check
When the session call comes, the process should feel automatic. Remove the warmers, check pressure, pull the stands, and roll out knowing the tires started with proper heat and consistent prep. That confidence does not come from guesswork. It comes from doing the simple things correctly, every time.