

Can You Reuse Brake Rotors on a Motorcycle?

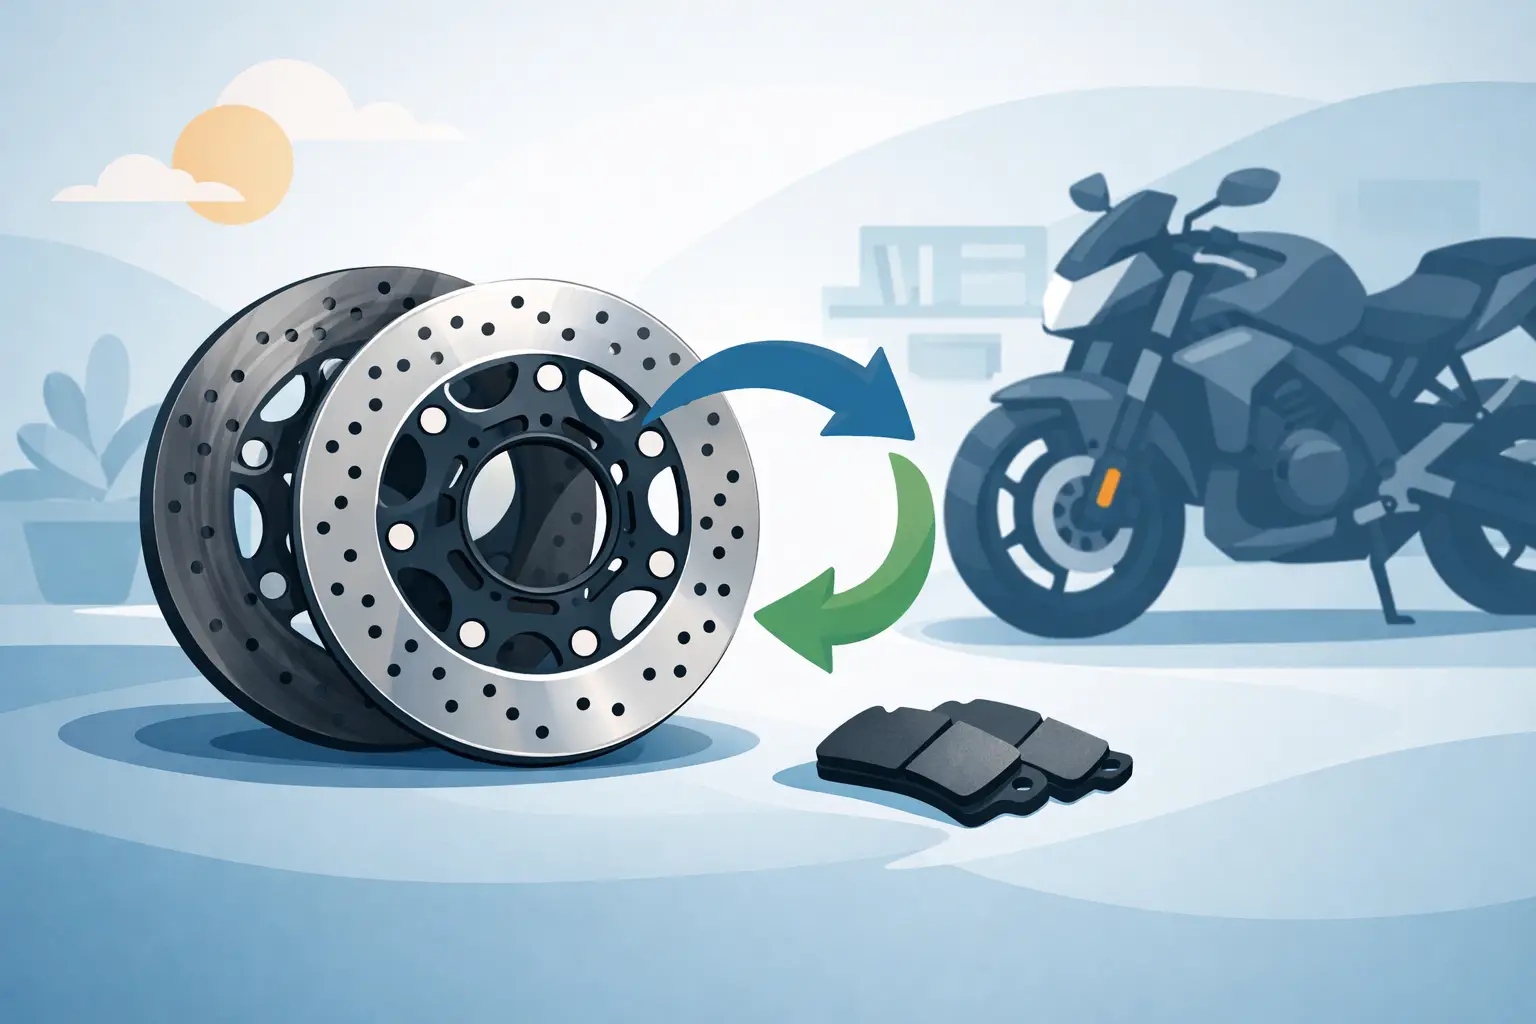
A fresh set of pads can make a worn rotor feel acceptable for a few laps – right until heat builds, lever feel changes, or the front starts pulsing into a braking zone. So, can you reuse brake rotors on a motorcycle? Yes, but only when they remain within the manufacturer’s thickness, runout, and condition limits. A rotor is not automatically finished because you are changing pads, but it is never a part to judge by appearance alone.
For performance riders, the decision is simple: reuse a rotor only when measurement confirms it is serviceable. If there is doubt, replace it. Braking consistency is worth more than squeezing another track day out of a marginal disc.
Can You Reuse Brake Rotors? Start With the Minimum Thickness
Every brake rotor has a minimum thickness specification. On many sport bikes, it is stamped directly onto the rotor carrier or outer braking ring. If it is not visible, use the factory service manual or the rotor manufacturer’s specification for that exact application. Do not assume that a similar-looking rotor uses the same limit.
Measure the braking surface with a quality micrometer, not a tape measure, ruler, or a caliper that cannot accurately reach past the outer wear lip. Take readings in several places around each side of the disc, avoiding the very edge where a lip can distort the result. The thinnest valid reading is the one that matters.
If the rotor is at or below its minimum thickness, replace it. If it is only barely above the limit, treat that as a replacement decision for track use. Rotors continue to wear, and repeated high-energy braking creates more heat in a thinner disc. That reduces the thermal margin you need when braking hard lap after lap.
A street rider may choose to monitor a rotor that has meaningful life left above minimum thickness. A rider running fast groups, racing, or carrying out endurance sessions should be more conservative. The consequences of fade, pulsing, or a compromised disc are higher when braking markers are short and speeds are elevated.
Inspect the Rotor Surface and Structure
Thickness is only the first checkpoint. A rotor can measure within spec and still be unfit for use. Clean the disc with brake cleaner, then inspect both braking faces under good light.
Light, even scoring is common and does not necessarily require replacement. Deep grooves you can catch with a fingernail, heavy discoloration, cracking, or obvious hot spots deserve closer attention. Blue or purple heat marks alone are not always a failure, especially on track bikes, but they are evidence that the rotor has seen serious temperature. Pair that evidence with your riding history, pad condition, thickness measurements, and lever feel.
Cracks are a hard stop. Look carefully around drilled holes, slots, and the transition between the braking ring and carrier. Hairline cracks can be difficult to see, particularly on heavily used race equipment. If you find one, do not attempt to dress it out or keep running the rotor for one more event.
Also inspect the mounting hardware and carrier. On floating rotors, the buttons or bobbins should allow the intended float without excessive looseness, binding, or rattling beyond the manufacturer’s normal tolerance. A floating rotor that cannot move correctly can create drag, uneven pad contact, and inconsistent braking. Check mounting bolts for correct torque and condition whenever the wheel is off.
Check Runout Before Blaming Pads or Forks
Brake lever pulsing is often blamed on a “warped” rotor. True rotor distortion can happen, but uneven pad material transfer and hub or mounting-surface contamination are also common causes. The right diagnosis starts with runout.
Use a dial indicator mounted securely to the fork leg or another fixed point. Rotate the wheel and measure the rotor’s lateral movement according to the motorcycle or rotor manufacturer’s procedure. Check that the wheel bearings are sound and that the axle, pinch bolts, and rotor fasteners are correctly installed before trusting the reading.
If runout exceeds specification, remove the rotor and inspect the wheel mounting face. Corrosion, dirt, old threadlocker debris, or a small burr can prevent the disc from seating flat. Clean the surfaces carefully, reinstall using the correct torque sequence, and measure again. If the reading remains out of spec, the rotor may need replacement, although a damaged wheel hub must also be considered.
Do not try to straighten a motorcycle brake rotor with improvised tools. Race rotors are precision components, and a bent disc is not a place for garage experimentation. Even if the lever pulse improves temporarily, the rotor may not remain stable under heat.
When Reusing Rotors With New Pads Makes Sense
Installing new pads on existing rotors is normal maintenance when the discs are in good condition. The rotor should be above minimum thickness, free of cracks and severe scoring, within runout specification, and clean. It should also have a braking surface compatible with the pad compound you plan to use.
This last point matters more on performance motorcycles than many riders realize. Switching from a street-oriented organic or sintered pad to an aggressive track compound can change how the disc behaves under temperature. Some race compounds need heat to work properly and may wear a standard rotor faster. Others may leave a transfer layer that affects feel when you switch compounds again.
When changing pad types, clean the rotor thoroughly and follow the pad manufacturer’s bedding procedure. Bedding is not a casual ride around the block. It is a controlled sequence of progressively harder stops that establishes an even transfer layer without overheating the system. Skipping it can produce poor initial bite, vibration, glazing, or uneven deposits that feel like rotor warp.
Never install new pads over contaminated rotors. Chain lube overspray, fork oil, tire dressing, and greasy fingerprints can all compromise braking. If contamination is minor, proper cleaning may restore the disc. If oil has soaked into the pad material, replace the pads rather than trying to burn or wash the contamination away.
Why Resurfacing Motorcycle Rotors Is Usually the Wrong Move
Automotive brake discs are often machined, but resurfacing is rarely the best answer for modern motorcycle rotors. Motorcycle discs are comparatively thin, have strict minimum-thickness limits, and frequently use drilled, slotted, or floating designs. Machining removes material, potentially changes surface characteristics, and can leave too little thermal capacity for hard use.
A light surface refresh may be appropriate only when the rotor manufacturer permits it and a specialist can confirm final thickness, parallelism, and runout. For the majority of sport bike and race applications, replacement is the more reliable route when a rotor has deep grooves, severe deposits, or persistent pulsing.
This is especially true for premium floating rotors. Their design is built to deliver predictable heat management and braking response. Trying to rescue a tired disc can cost more in troubleshooting, pads, and lost track time than fitting the correct replacement.
Reuse Decisions After a Crash, Overheating, or Long Storage
A bike that has been down needs a more demanding inspection. Even a low-speed crash can strike the rotor, twist the wheel, damage a carrier, or load the caliper bracket. Check both sides, measure runout, inspect the wheel and axle, and make sure the wheel rotates freely with the calipers installed. A rotor that looks fine after a crash is not automatically fine.
After an overheating event, inspect the discs along with pads, caliper seals, fluid, and hoses. A soft lever may be fluid-related, while reduced bite may be pad fade or glazing. But repeated extreme heat can also accelerate rotor wear and create uneven deposits. Solve the underlying issue – dragging calipers, incorrect pad choice, poor cooling, or late braking beyond the system’s capacity – before fitting new components.
Long storage is less dramatic but still deserves attention. Surface rust can develop on cast-iron rotors, while stainless discs may collect grime or corrosion around their buttons and mounting hardware. Light surface oxidation can often clear during normal bedding. Pitting, seized floaters, or corrosion that affects the braking path requires a closer look.
Build Your Brake Service Around Measurements
A reusable rotor is one that passes inspection, not one that simply has some metal left on it. Record rotor thickness whenever you replace pads or tires, note the pad compound used, and pay attention to lever feel from session to session. That small service record makes it easier to spot accelerating wear before it becomes a safety issue.
For a race-prepared motorcycle, use components matched to your bike, calipers, riding level, and intended pad compound. Exact fitment and verified specifications matter because your brakes are the last system you trust before turn-in. If a disc is near its limit or its behavior has become inconsistent, fit a quality replacement and return to the track with a braking package you can trust.