

How to Upgrade Master Cylinder for Track Control

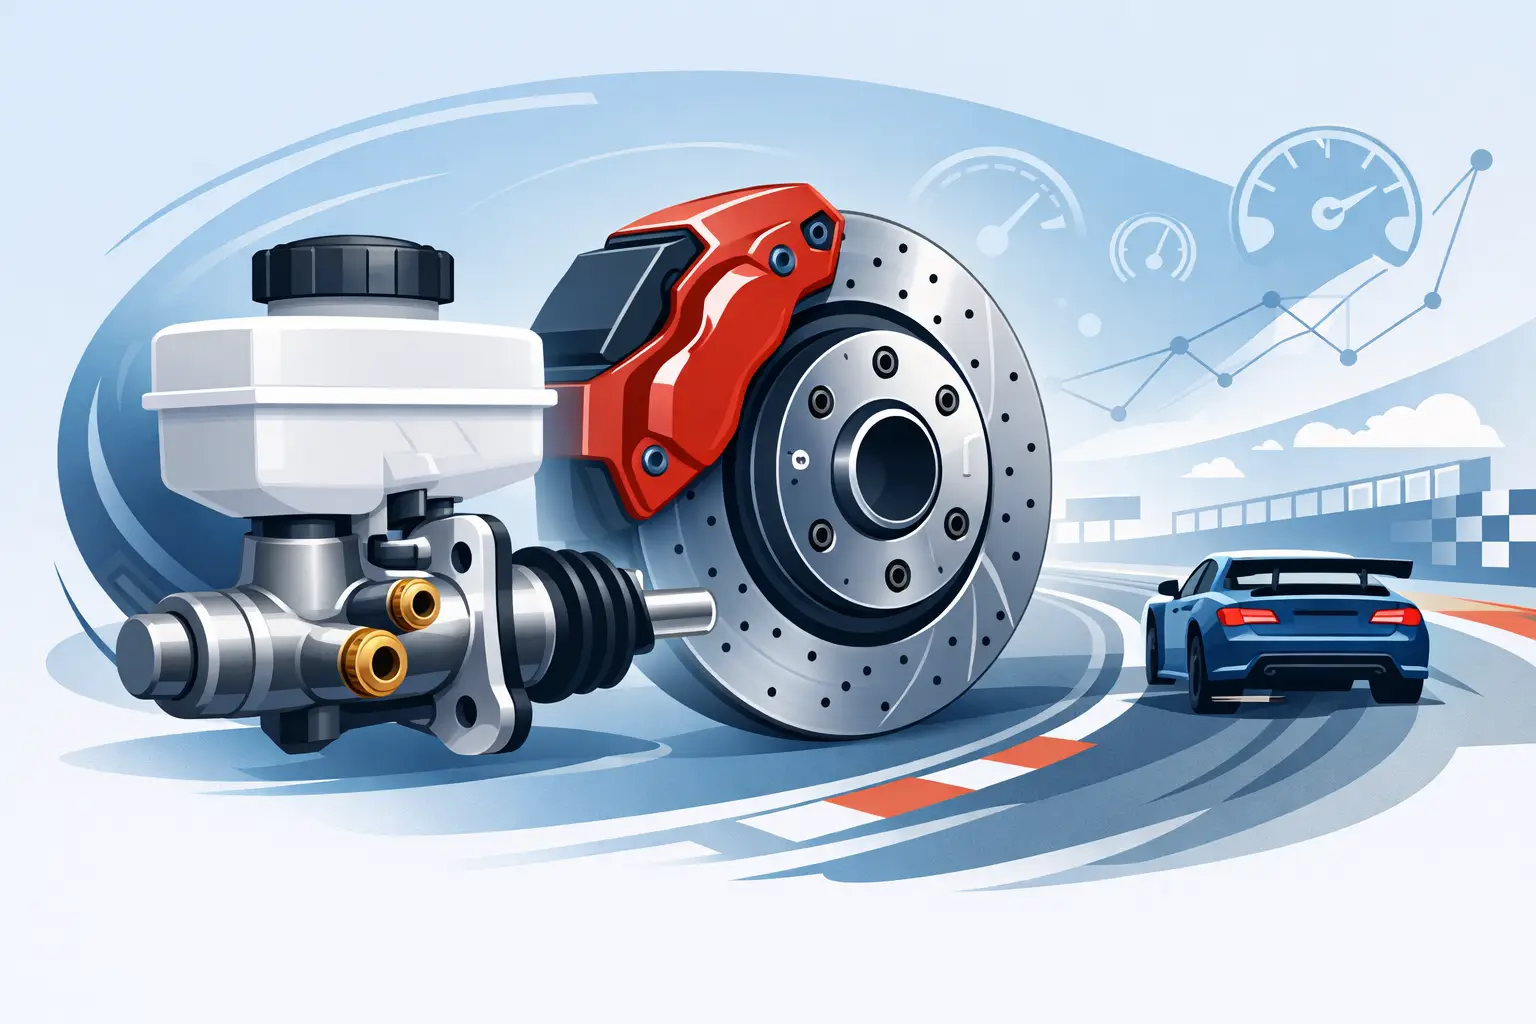
A stock front brake can feel acceptable on the street, then turn vague when braking hard from triple-digit speed at the end of a straight. Learning how to upgrade master cylinder hardware is about more than fitting a premium part. The right radial master cylinder gives your hand a more direct connection to the calipers, helping you brake later, modulate pressure more accurately, and maintain confidence when pace rises.
For track-day riders and racers, this is one of the most meaningful front-end upgrades available. But master cylinder selection is not a simple case of buying the largest or most expensive unit. Piston size, lever ratio, caliper piston area, brake lines, pad compound, and proper bleeding all affect the result.
Why Upgrade a Motorcycle Master Cylinder?
The master cylinder converts lever movement into hydraulic pressure. When you pull the lever, its piston pushes brake fluid through the lines and into the calipers. A better-designed unit can improve lever feel, reduce flex, offer more precise adjustment, and deliver a more consistent pressure build through the full braking zone.
Many OE master cylinders are engineered around broad street use, cost control, and ease of operation for a wide range of riders. That does not make them bad. It does mean they may be the limiting component once you add aggressive pads, braided lines, race tires, or higher-spec calipers.
A quality radial master cylinder places the piston parallel to the handlebar rather than perpendicular to it. This layout is typically stiffer and gives manufacturers more freedom to optimize leverage and feel. The payoff is usually a firmer, more repeatable lever with better feedback at the point where the tire is close to its braking limit.
Do not expect a master cylinder alone to fix fading brakes, contaminated fluid, warped rotors, sticking calipers, or a poorly bled system. Treat it as part of a braking package, not a shortcut around maintenance.
Choose the Right Bore Size Before You Buy
Bore size is the decision that defines how the lever feels. It is also where many otherwise good upgrades go wrong.
A smaller master cylinder piston moves less fluid per millimeter of lever travel. That generally creates a softer lever with more travel and more mechanical advantage. Riders often describe this as strong initial feel and easier modulation, but it can feel too long if the bore is undersized for the calipers.
A larger piston moves more fluid with less lever travel. The lever will usually feel firmer and engage sooner, but it requires more hand force. Go too large and braking can become wooden or abrupt, making it harder to trail brake precisely.
For many modern sport bikes with dual four-piston calipers, a 19 mm radial master cylinder is a common performance choice. A 17 mm or 18 mm option may suit riders who want greater leverage and a more progressive lever. The correct answer depends on your caliper configuration and the manufacturer’s recommended pairing.
Understand Fixed and Adjustable Lever Ratios
Some race-oriented master cylinders use a fixed lever ratio. Others provide an adjustable ratio, commonly identified by figures such as 19×18 or 19×20. The first number refers to piston diameter; the second relates to lever pivot geometry.
A shorter ratio usually gives more leverage and a softer, more progressive feel. A longer ratio tends to feel firmer and more immediate. Neither setting is automatically faster. A rider who brakes deep and relies on trail braking may prefer one feel, while another rider may want a shorter, firmer lever for hard initial application.
Start with the component manufacturer’s baseline recommendation for your bike and calipers. Then make changes only after riding the bike and evaluating lever travel, required hand force, and front-tire feedback.
Parts and Checks for a Proper Upgrade
Before installing anything, confirm motorcycle-specific fitment. Check handlebar diameter, switchgear and throttle clearance, mirror-mount needs for street equipment, reservoir mounting, banjo bolt orientation, brake-line routing, and any ABS plumbing requirements. A universal master cylinder may physically clamp to the bar yet still create clearance or hose-angle problems.
For a complete, race-ready installation, inspect the system around the master cylinder rather than replacing one part in isolation. You will normally need fresh brake fluid specified for your system, new crush washers for the banjo connection, a compatible reservoir and bracket if one is not included, and the correct tools for bleeding.
If your rubber brake hoses are old or expanding under pressure, braided stainless lines are worth considering at the same time. They reduce hose expansion and help preserve lever consistency under heat. Likewise, worn pads, glazed rotors, and overdue fluid should be addressed before judging the new master cylinder.
Use only brake fluid compatible with the motorcycle and the master cylinder seals. DOT 4 is common on performance street and track motorcycles, while some race systems specify high-temperature racing fluid. DOT 5 silicone fluid is not interchangeable with DOT 3, DOT 4, or DOT 5.1 glycol-based fluids. Check the service manual and the component documentation before filling the reservoir.
How to Upgrade Master Cylinder Components Correctly
Begin with the motorcycle stable on a paddock stand, handlebars straight, and painted surfaces covered. Brake fluid damages paint quickly, so keep water and clean towels close by. Work with a clean bench and do not reuse fluid that has been exposed to air or contamination.
First, remove as much old fluid as possible from the reservoir without spilling it. Disconnect the brake light switch, then remove the banjo bolt and catch remaining fluid in a suitable container. Remove the clamp bolts and lift the old master cylinder away from the handlebar.
Install the new unit loosely enough to adjust its position. Most riders set the lever at an angle that supports a straight wrist in their normal braking posture. On a track bike, that may be lower than a typical street setting, but avoid an extreme angle that makes the lever difficult to reach while hanging off the bike.
Fit the brake line using new crush washers on both sides of the banjo fitting where applicable. Torque the banjo bolt and handlebar clamp hardware to the master cylinder manufacturer’s specification. Do not guess. Overtightening can damage aluminum threads or distort a fitting; undertightening can cause a dangerous leak.
Mount the reservoir so the hose runs smoothly without kinks and the reservoir stays close to level when the bike is in its normal upright position. Reconnect the brake light switch if the motorcycle remains street equipped. Turn the bars lock to lock and confirm the reservoir, lines, and lever do not touch the fairing, windscreen, gauge cluster, or throttle assembly.
Bleeding Is Where Lever Feel Is Won or Lost
Fill the reservoir with fresh fluid and bleed the system methodically. Start at the caliper furthest from the master cylinder if your service manual specifies that order. Pump the lever slowly, hold it, open the bleeder briefly, close it, and then release the lever. Repeat while keeping the reservoir from running low.
A vacuum bleeder or pressure bleeder can speed up the job, but neither replaces careful inspection. Tiny air bubbles can remain at high points in the lines, at the banjo bolt, or inside the master cylinder. Lightly tapping the lines and master cylinder body can help move trapped bubbles upward. Some systems benefit from leaving the lever lightly tied back overnight, then performing a final bleed the next day.
When finished, the lever should build pressure consistently and should not creep toward the bar under steady force. Check every fitting for leaks. If the lever remains spongy, do not ride the bike until the cause is found. Air in the system, a loose fitting, a damaged seal, or an incorrect bleed procedure can all produce a soft lever.
Set Up the Lever for Your Riding Style
Once the system is bled, adjust lever reach so your index and middle fingers can apply pressure without overextending. Riders with smaller hands often gain as much confidence from correct reach adjustment as they do from the cylinder itself.
For the first session, build pace gradually. Pay attention to initial bite, lever travel after the brakes get hot, and how easily you can release pressure while turning in. A master cylinder that feels impressive in the garage may need a lever-ratio adjustment or a different setup choice on track.
Avoid chasing a rock-hard lever as the only sign of performance. The best setup gives clear feedback, enough firmness to inspire confidence, and enough progression to control braking force at the edge of grip. That balance is what supports repeatable lap-after-lap braking.
Premium braking components deserve precise fitment and installation. AXF Race Parts helps performance riders source race-proven master cylinders and supporting hardware by motorcycle application, so you can build a braking system that matches your bike, your pace, and your braking style.
After installation, perform a low-speed function check before any road or track use, then inspect the system again after the first heat cycle. A correctly matched master cylinder will not just make the lever feel better. It gives you the control to use the rest of your braking package with purpose.