

How to Bleed Race Brakes for a Firm Lever

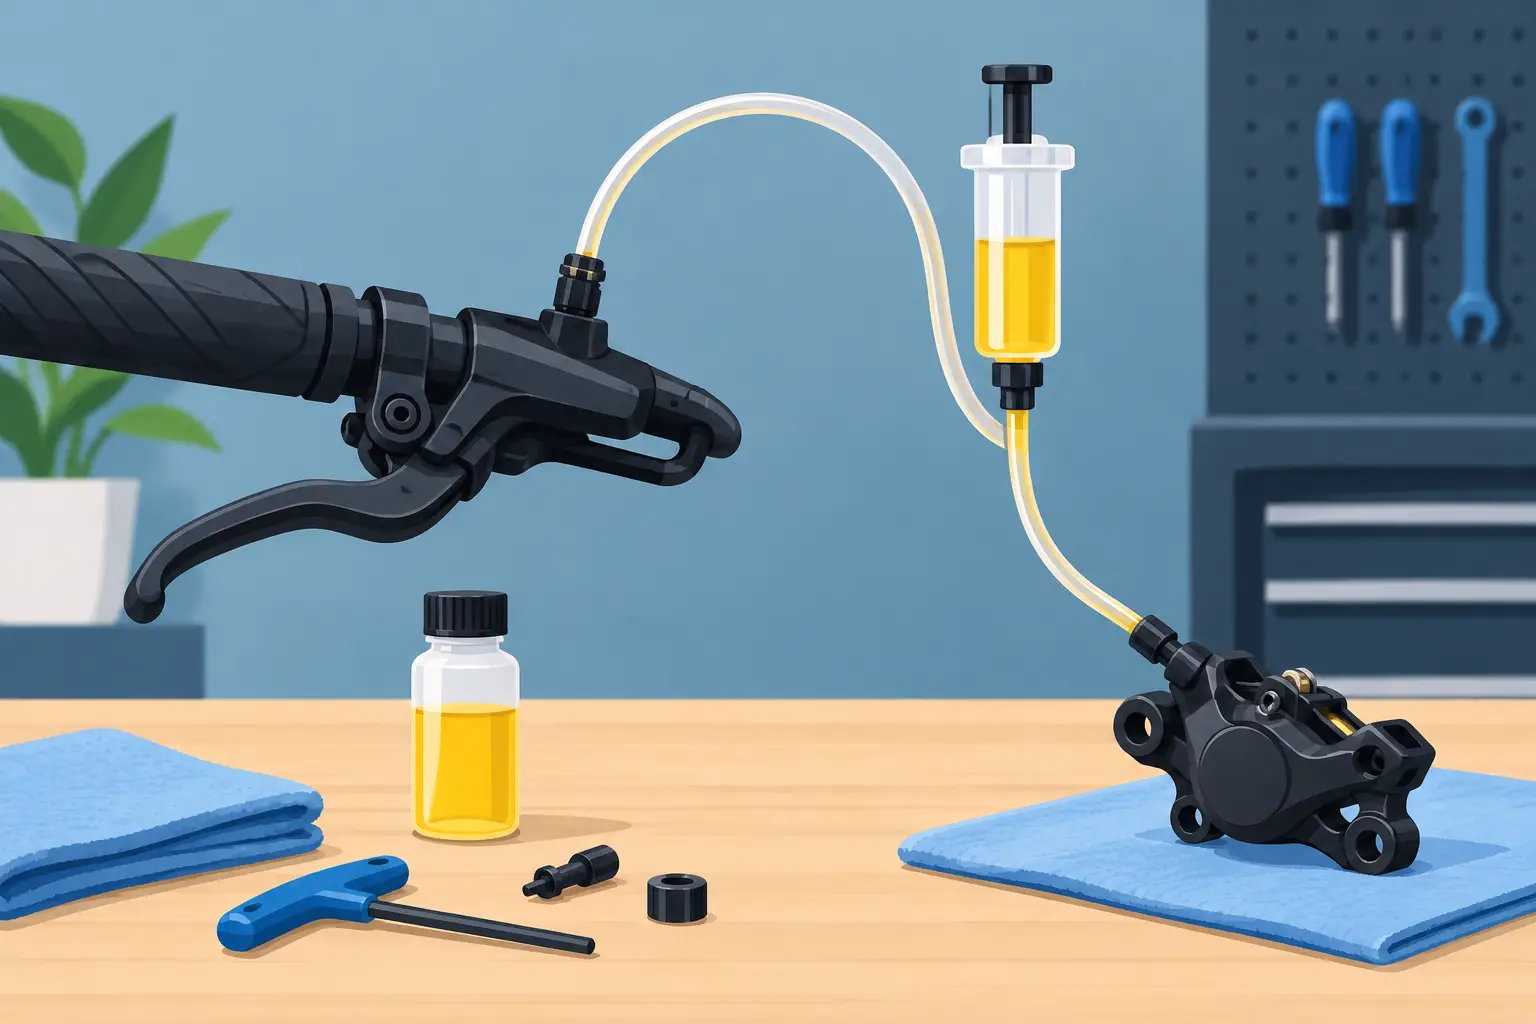
A brake lever that comes back farther every session is not a setup detail to ignore. On a race bike, lever travel changes braking markers, weakens confidence at corner entry, and can turn a clean pass into a missed apex. Knowing how to bleed race brakes correctly gives you a firmer lever, cleaner fluid, and more consistent braking when temperatures rise.
Race-spec calipers, master cylinders, braided lines, and high-boiling-point fluid can deliver major gains, but none of them compensate for air trapped in the system or fluid that has absorbed moisture. Bleeding is basic workshop work, but race brakes demand a methodical approach. Rushing it is how small air bubbles become a long lever on the grid.
What You Need Before Bleeding Race Brakes
Start with the correct brake fluid specified for your master cylinder and calipers. Most modern performance motorcycle brake systems use DOT 4 or DOT 5.1 fluid. These glycol-based fluids are compatible with one another, although mixing fluids is not the ideal way to build a race-ready system. Use one fresh, sealed product with the dry and wet boiling points your riding requires.
Do not confuse DOT 5.1 with DOT 5. DOT 5 is silicone-based and is not compatible with DOT 3, DOT 4, or DOT 5.1 systems. Using the wrong fluid can damage seals and create expensive problems in premium braking components.
You will also need a suitable box wrench for the bleeder nipples, clear bleed hose, a catch bottle, clean shop towels, nitrile gloves, brake cleaner, and a syringe if you plan to reverse bleed. Keep a fresh bottle of fluid within reach. Once brake fluid is opened, it begins absorbing moisture from the air. Do not use a bottle that has been sitting uncapped on the bench since last season.
Brake fluid damages paint, powder coating, plastics, and some finishes. Cover the tank, fairing, wheel, and any painted surfaces before opening the reservoir. If fluid spills, clean it immediately with plenty of water followed by an appropriate cleaner.
How to Bleed Race Brakes Using the Conventional Method
The conventional lever-and-bleeder method remains the most reliable approach for most track bikes. It works well after a fluid change, a caliper rebuild, new brake lines, or routine pre-season service.
Set the master cylinder level
Put the bike on a paddock stand or otherwise secure it upright. Turn the handlebars so the front brake master-cylinder reservoir sits as level as possible. On clip-on-equipped race bikes, this may require moving the steering slightly or carefully adjusting the bar position.
Remove the reservoir cap and diaphragm. Inspect the reservoir for sediment or dark fluid. If the fluid is heavily discolored, draw out most of the old fluid with a clean syringe before filling the reservoir with fresh fluid. Do not reuse that syringe for oil, coolant, or any other fluid.
Start at the caliper farthest from the master cylinder
If the bike has dual front calipers, begin with the caliper on the longer hydraulic run, then move to the other side. On many sport bikes, that means starting with the left caliper, but hose routing matters more than side. If your calipers have two bleeders, bleed the lower or outer bleeder first, then the upper bleeder where applicable. The goal is to move air upward and out.
Push a clear hose tightly over the bleeder nipple and route the other end into a catch bottle. A small amount of clean brake fluid in the bottom of the bottle helps prevent air from being pulled back through the hose.
Pump the lever slowly three or four times, then hold it firmly against pressure. While holding pressure, open the bleeder nipple about a quarter turn. Fluid and air should flow through the hose. Before releasing the lever, close the bleeder. Then release the lever and repeat.
The sequence matters: pump, hold, open, close, release. If you release the lever while the bleeder is open, the system can pull air back in through the nipple threads.
Never let the reservoir run low
Check the reservoir every few cycles and top it up before the fluid level approaches the bottom. Letting the reservoir run dry introduces air into the master cylinder and turns a straightforward job into a longer one.
Continue until the fluid leaving the hose is clean and free of bubbles. Small bubbles can cling to the inside of the hose, so give the system a moment between cycles. Slow, deliberate lever strokes are better than rapid pumping, which can aerate fluid and make diagnosis harder.
Repeat the process at the second caliper. Once both calipers are bled, return to the first one for a final check. On high-performance braking systems, that last pass often removes the small amount of air that migrated across the crossover circuit while you worked.
Bleeding the Master Cylinder and Banjo Bolts
A firm caliper bleed does not always mean the system is fully clear. Air can remain at high points, especially around the master cylinder, banjo fittings, brake line junctions, and ABS plumbing on street-based track bikes.
If your master cylinder has a dedicated bleed nipple, use it after the calipers. Place towels around the assembly, apply light lever pressure, crack the nipple briefly, then close it before releasing the lever. This can remove air trapped near the piston bore, where it has the greatest effect on initial lever feel.
For systems without a master-cylinder bleeder, carefully bleeding at the banjo bolt can help, but it requires discipline. Protect all nearby finishes, use the correct wrench, and only loosen the fitting enough to allow a small amount of fluid and air to escape. Torque the fitting to the manufacturer specification afterward. Do not repeatedly loosen banjo bolts if a proper bleed point is available.
Tap the brake lines and calipers gently with the handle of a screwdriver while the lever is released. This can dislodge bubbles stuck around fittings or piston cavities. Then leave the bike overnight with the lever lightly pulled back using a strap. This will not replace proper bleeding, but it can help fine bubbles travel upward toward the master cylinder reservoir.
When Reverse Bleeding Makes Sense
Reverse bleeding pushes fluid from the caliper bleeder upward to the master cylinder using a syringe. It is especially useful after installing dry brake lines, replacing a master cylinder, or rebuilding calipers. Because air naturally rises, this method can clear a stubborn system faster than lever bleeding alone.
Use a clean syringe and hose dedicated to brake fluid. Fill the syringe carefully to avoid injecting air, attach it to the caliper bleeder, and open the bleeder slightly. Push fluid slowly upward while monitoring the reservoir. Remove excess fluid from the reservoir as it rises so it does not overflow.
Reverse bleeding is efficient, but it is not a shortcut for inspection. Finish with a few conventional bleed cycles if the lever does not feel immediate and consistent. On a race motorcycle, the correct result is not simply fluid moving through the hose. It is a predictable lever that holds pressure without creeping toward the bar.
Why a Race Brake Lever Still Feels Soft
If fresh fluid and a careful bleed do not produce a firm lever, stop repeating the same process and inspect the system. A soft lever can come from air, but it can also point to a mechanical issue. Check for weeping around bleeder nipples, banjo bolts, line fittings, caliper seals, and master-cylinder seals. Look for damaged or swollen brake lines, worn pads, excessive rotor runout, loose caliper mounting hardware, or caliper pistons that do not retract smoothly.
Pad knock-back creates another common track-day complaint. If the lever feels good in the paddock but goes long after hard cornering, rotor movement or wheel-bearing play may be pushing the pads back into the caliper. Bleeding more fluid will not fix that condition.
On ABS-equipped motorcycles, trapped air inside the modulator may require an electronic service procedure to cycle the ABS pump and valves. Some race-prepared bikes remove ABS entirely, while others retain it for certain classes or track-day use. Follow the service procedure for your exact model rather than assuming a standard caliper bleed reaches every part of the circuit.
Final Checks Before Going on Track
Fill the reservoir only to its marked maximum level, reinstall the diaphragm and cap, and clean every caliper and fitting with brake cleaner. Pump the lever repeatedly and hold firm pressure for at least 30 seconds. The lever should not slowly travel inward, and no fitting should show any sign of seepage.
Spin the front wheel to confirm the brakes release normally. Check that the lever operates freely, the pads are correctly installed, and the bleeder nipples are snug with their caps in place. Then bed in any new pads or rotors according to the component manufacturer’s procedure before asking for full race-pace braking.
Fresh fluid, correct bleeding technique, and properly matched race components make every braking zone more repeatable. Give the job the same attention you give tire pressures and chain adjustment, because a firm lever is one of the clearest signs your motorcycle is ready to brake hard and brake consistently.