

Motorcycle Rearset Adjustment Guide for Track Riders

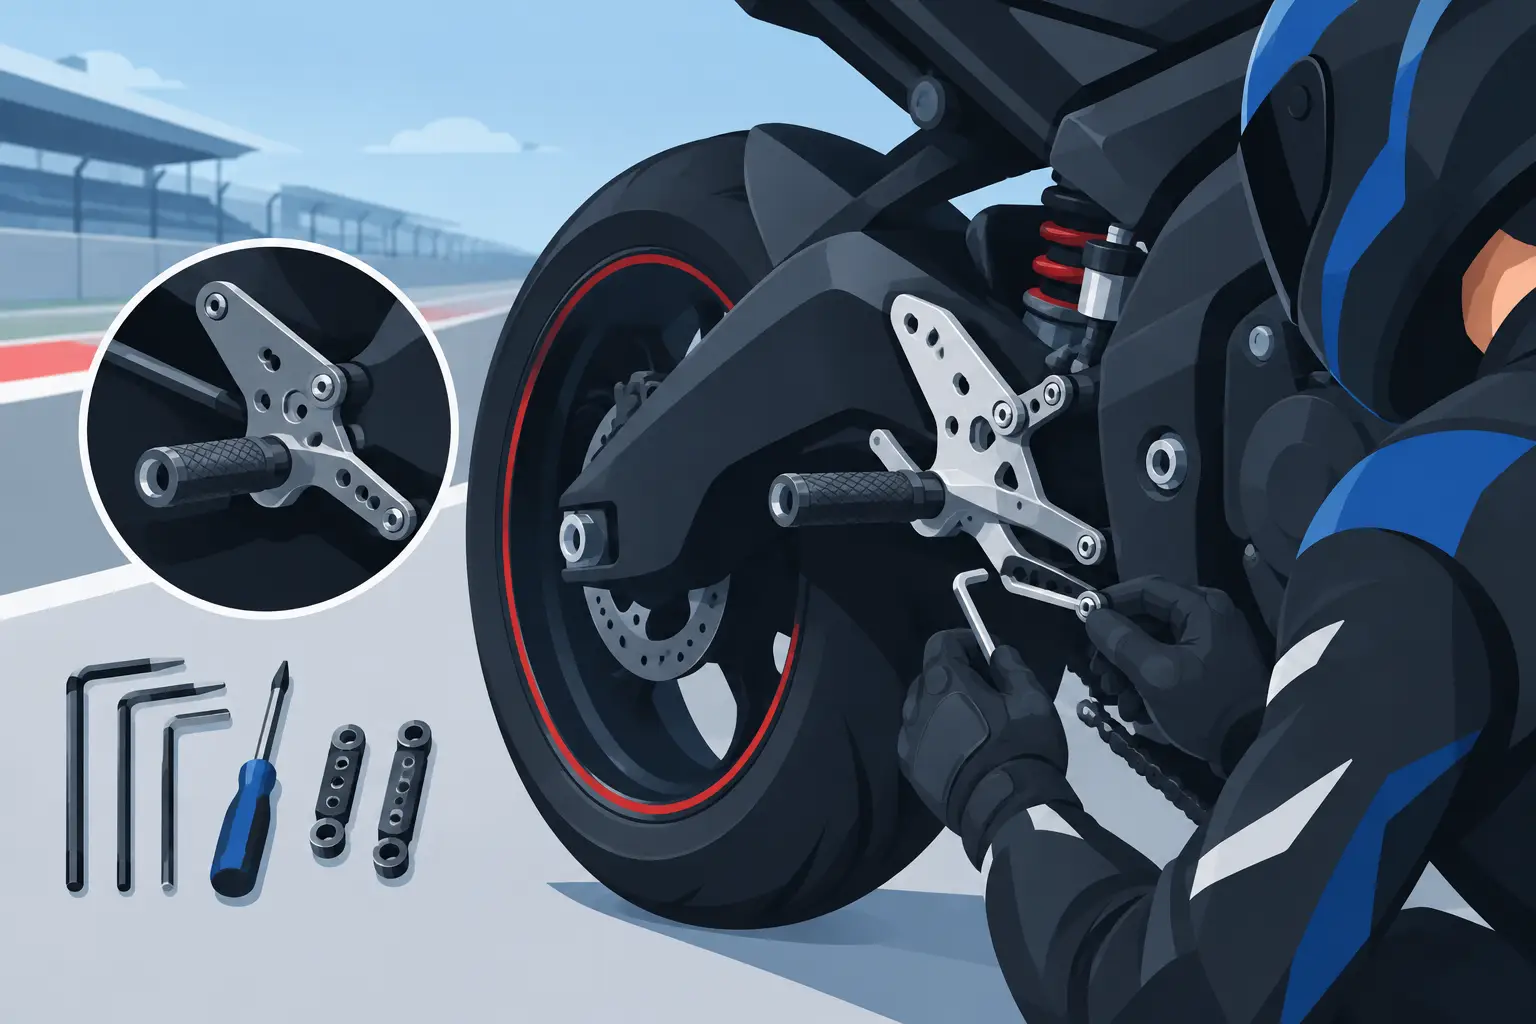
Rearsets can make a properly prepared sport bike feel immediately more connected to the rider – but only when the controls are set around your body, boots, and riding position. This motorcycle rearset adjustment guide covers the adjustments that matter most: footpeg location, shift-pedal height, brake-pedal height, and the free play that keeps both controls reliable under hard use.
A set of race rearsets is not a cosmetic upgrade. It creates a more secure platform for braking, hanging off, and loading the outside peg through the corner. Get the position wrong, however, and you can trade clearance for cramped knees, missed shifts, or a rear brake that drags when the pace rises.
Start With a Safe Baseline
Before moving anything, put the bike on a stable paddock stand and inspect the installation. Confirm that every mounting bolt, linkage fastener, footpeg retainer, and master-cylinder connection is correctly fitted and tightened to the rearset manufacturer’s specification. If the kit uses threadlocker, use the specified type and allow it to cure as directed.
Check that the shift rod runs freely through its full range and does not contact the frame, engine case, side stand bracket, or bodywork. On the brake side, confirm that the pedal returns positively, the master-cylinder pushrod is correctly seated, and the rear brake light switch works if the bike is street equipped.
Do not begin with the most aggressive rearward and highest peg position simply because it looks race-ready. The right setting depends on your inseam, boot size, clip-on height, tank shape, and how much time you spend on track versus street. Start from a neutral or middle mounting position, then make controlled changes.
Set Footpeg Position Before Pedal Height
Footpeg position defines the rest of the setup. Once the pegs move, the relationship between your ankle, knee, shifter, and brake pedal changes with them.
Moving the Pegs Up and Back
Higher, rearward pegs increase ground clearance and typically give a sport bike a more aggressive lower-body position. This can help a rider keep the boots and pegs clear at deeper lean angles while creating more room to move across the seat.
The trade-off is reduced legroom. Tall riders or riders with limited knee mobility may feel cramped quickly, especially during long track sessions. A position that feels acceptable for two laps can become fatiguing after 20 minutes of braking, hanging off, and supporting your body weight through the tank.
For most track-day riders, a modest change is the smart first move. Raise and move the pegs rearward one mounting hole or one incremental setting at a time. Ride the bike, assess clearance and comfort, then adjust again if needed. Large changes make it harder to identify what actually improved your control.
Moving the Pegs Lower or Forward
Lower or more forward positions create a more open knee angle and can improve comfort for taller riders. They may also make transitioning between braking and shifting feel more natural on a street-oriented sport bike.
The limitation is clearance. If your bike already touches hard parts at your normal track pace, lowering the pegs is not the answer. Check for contact marks on peg feelers, exhaust brackets, fairing lowers, and side stand hardware before choosing a lower setting.
Your target is not maximum rearset height. It is a position that gives you dependable grip on the pegs, room to move, and enough clearance for the lean angle you can realistically use.
Motorcycle Rearset Adjustment Guide: Set the Shifter
A shift lever should sit where your boot can find it without lifting your foot off the peg or twisting your ankle. That sounds basic, but a poorly set shift pedal is one of the fastest ways to create false neutrals, lazy upshifts, and missed downshifts under braking.
Sit on the bike in full riding gear. Place the ball of your foot on the peg, where it belongs during cornering. Now move your left foot forward to the shift lever. The toe of your boot should reach under the lever naturally, with a small amount of ankle movement. If you must point your toe sharply downward or lift your leg off the peg, the lever is too high. If the lever rests against the top of your boot or forces your toe upward, it is too low.
On most adjustable rearsets, pedal height is changed by turning the shift rod or repositioning the lever on its spline, depending on the design. Make small adjustments and keep the rod ends aligned. Excessive angular misalignment can create binding and premature wear.
If your bike uses a quickshifter, test it carefully after every adjustment. The linkage must complete a clean shift without preload from your boot. A lever adjusted too low can be unintentionally loaded while you are tucked in, causing inconsistent quickshifter operation.
Standard Shift and GP Shift Considerations
Rearsets often support standard shift pattern or GP shift pattern. Do not assume the linkage arrangement is interchangeable without checking the rearset and motorcycle-specific instructions. Some configurations require a different shift rod, a reversed lever orientation, or a compatible quickshifter sensor setup.
After any shift-pattern change, practice on a stand with the engine off before riding. Your muscle memory is stronger than you think, particularly when braking hard into a corner.
Set the Rear Brake Pedal for Feel, Not Just Reach
The rear brake pedal needs a slightly different approach. It must be easy to reach, but it also needs enough free play to ensure the master cylinder fully releases. A rear brake that drags can overheat the rotor, boil fluid, wear pads rapidly, and destabilize the bike.
With your right foot in its normal position on the peg, roll the foot forward toward the pedal. You should be able to cover the pedal with a controlled ankle movement. Many track riders prefer the pedal just below the top plane of the footpeg, but there is no universal number. A rider with bulky race boots may need a different setting than someone using a slimmer boot.
Adjust pedal height through the rearset’s stop bolt, pushrod length, or both, according to the design. Do not use the master-cylinder pushrod as a shortcut to compensate for every pedal-height issue. Changing the pushrod incorrectly can reduce or eliminate the free play required for the piston to return.
After adjustment, spin the rear wheel by hand with the bike supported. Apply and release the rear brake several times. The wheel should spin freely after the pedal returns. Check again after the brake is warm, because marginal free play can become a dragging brake as components expand.
If the bike has a hydraulic brake light switch or pressure switch, confirm brake-light operation without setting the pedal so high that it is constantly loaded. Street riders should be especially careful here. Track-only bikes can omit road equipment where regulations allow, but the brake system itself still demands the same attention to detail.
Check Clearance Through Full Travel
A rearset can clear perfectly in the garage and still interfere when the suspension compresses. Inspect the routing of the shift rod, brake line, reservoir hose, and any quickshifter wiring. Turn the rear wheel by hand and look for anything that could contact the chain, sprocket, or tire.
If you have changed rear ride height, swingarm angle, or exhaust configuration, recheck the entire rearset assembly. Race parts work as a system. A new exhaust hanger, rear brake line, or aftermarket engine cover can alter the space available around the controls.
Also inspect your boot clearance. With the bike stationary, place your feet in your normal cornering position and simulate a hanging-off posture. Your heel should not catch the heel guard, exhaust, or subframe hardware. If it does, revise the peg position before forcing yourself to adapt to a bad setup.
Test at Low Pace, Then Validate at Speed
The first ride after adjustment should be deliberate. In the paddock or on a quiet access road, test upshifts, downshifts, rear-brake engagement, and pedal return at low speed. Make sure you can operate both controls while seated normally and while moving your feet from the balls of the pegs to the controls.
At the track, evaluate the setup in phases. Focus first on braking zones: can you downshift cleanly without hunting for the lever? Then assess mid-corner clearance and whether your outside foot stays planted under load. Finally, pay attention to corner exits, where a cramped right leg or awkward brake-pedal position can interfere with body position and throttle control.
Keep notes after each session. If you change peg position, shift lever height, and brake pedal height at once, you will not know which change helped or hurt. Racers build consistency through repeatable settings, not constant guesswork.
When Adjustment Is Not the Fix
If the rearset has limited adjustment range, do not force components past their intended geometry. A different rearset model, a different peg offset, or a revised clip-on position may better suit your build. The best setup is often the one that balances several controls rather than pushing one adjustment to its extreme.
Choose motorcycle-specific, race-grade components with clear fitment information and complete hardware. AXF Race Parts stocks performance rearsets and supporting controls for track-focused sport bikes, making it easier to match the parts to the motorcycle rather than improvising a solution.
A rearset setting that lets you brake hard, shift cleanly, and stay relaxed on the pegs is worth more than the highest or most rearward position on the chart. Set it carefully, verify every control, and let your next session tell you what the bike needs.