

Race Boots for Track Riders: Fit, Feel, Protection

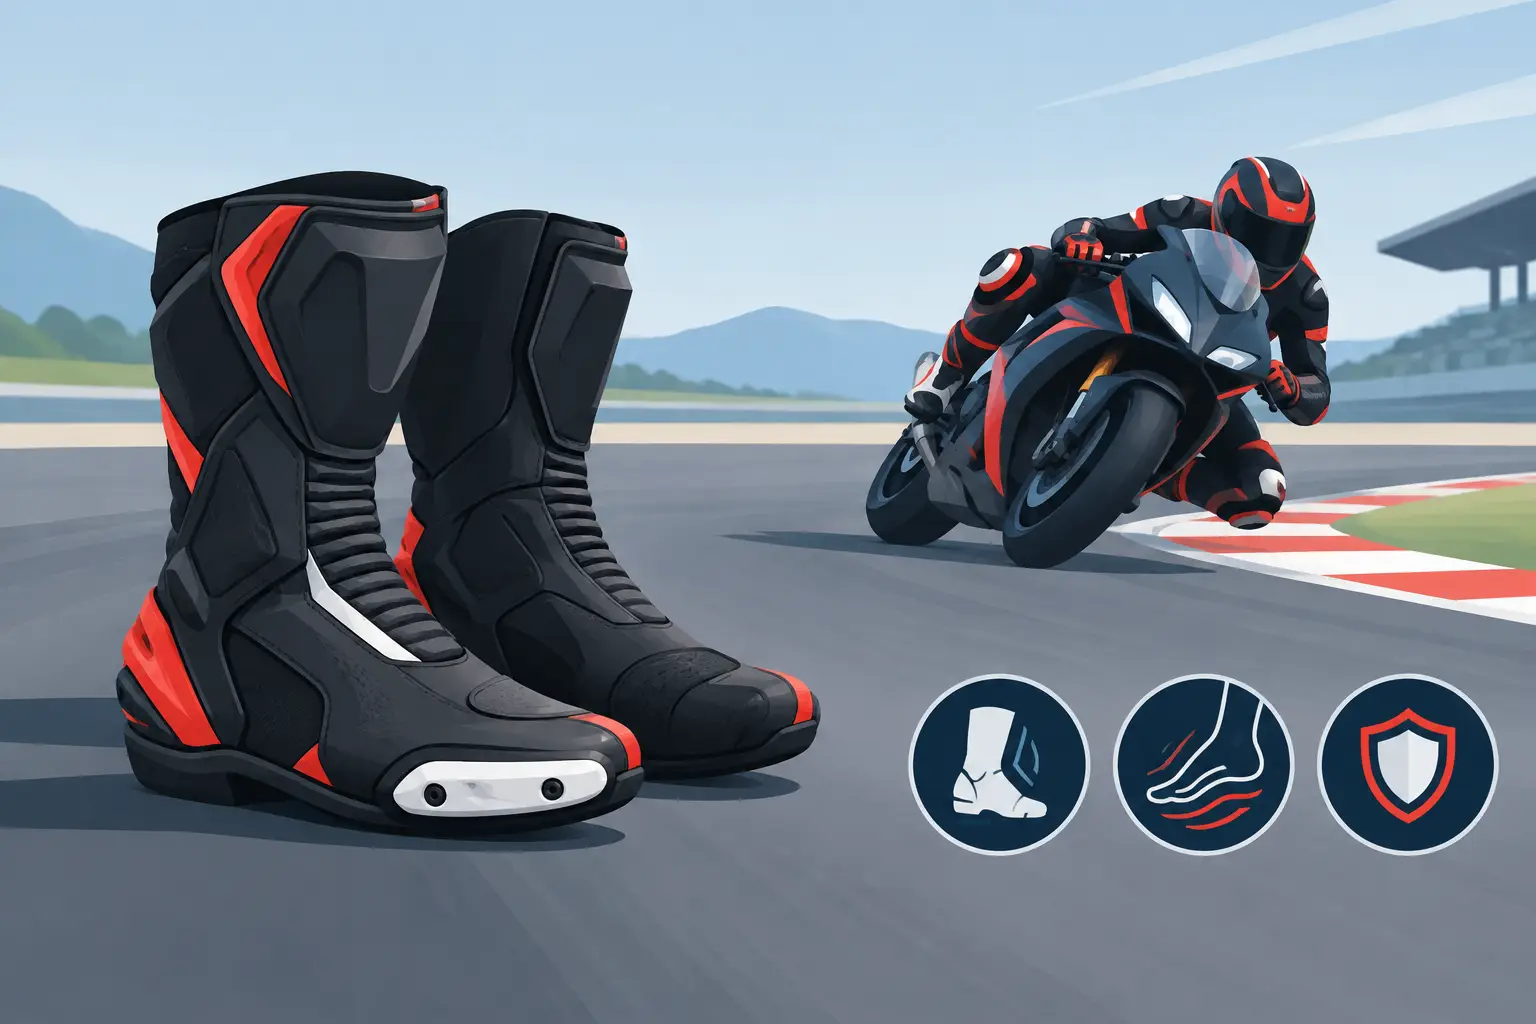
Race boots are not a cosmetic add-on to a track setup. They are a primary contact point between rider and motorcycle, protecting the ankle, shin, heel, toe, and foot while preserving the precise feel needed at the controls. A well-chosen pair helps you move confidently on the pegs, shift cleanly through a session, and manage the consequences of a slide far better than a casual riding boot.
For track-day riders and racers, the right choice comes down to more than price or appearance. Protection, ankle mobility, sole grip, peg feel, closure security, and compatibility with your riding position all matter. The boot that feels perfect while standing in a showroom can be wrong once your knee is down, your feet are working the rearsets, and the temperature climbs inside the paddock.
What Race Boots Must Do at Speed
A race boot has competing jobs. It needs to resist abrasion and impact, limit damaging ankle movement, and stay attached during a crash. At the same time, it cannot feel like a rigid ski boot. Riders need enough controlled movement to operate the shifter and rear brake, hang off the bike, and reposition their feet quickly through transitions.
This is why serious race boots use structured protection rather than simply adding thick leather. Look for reinforced shin plates, heel cups, toe protection, and dedicated ankle bracing. Many premium designs use a hinged or articulated ankle system. That construction limits hyperextension and sideways rotation while allowing the forward flex required for shifting and braking.
External sliders are equally functional. Replaceable toe sliders take the abuse when a boot contacts the pavement at high lean angle. Heel and side sliders can reduce the chance of a boot grabbing the surface during a slide. They are wear items, so inspect them regularly. A worn-through slider is not a minor cosmetic issue when it exposes the boot structure underneath.
The strongest protection can feel restrictive at first. That is normal, but there is a line. If you cannot comfortably flex your ankle enough to upshift, downshift, or apply rear brake pressure, the boot is not working for your setup. Protection only delivers value when it allows consistent control.
Race Boots: The Fit Test That Matters
Fit is where many riders make expensive mistakes. Your foot should sit firmly in the heel pocket without lifting as you walk or simulate shifting. Your toes need room to lie naturally, but they should not slide forward and strike the front of the boot under braking. A tight toe box becomes worse after a long session, especially in summer heat.
Try boots with the same socks you wear at the track. Thin, moisture-managing riding socks are usually the best baseline. Thick socks may hide a loose fit initially, then bunch up and create pressure points once you begin moving on the bike.
Secure the boot fully and flex into a riding stance. Check for pressure across the top of the foot, pinching around the ankle bones, and painful contact at the Achilles. A race boot should feel close-fitting, but it should not create numbness. Do not assume severe pressure will disappear with break-in. Leather will give slightly, while molded plastic armor, hard internal cups, and fixed seams will not.
Sizing also varies significantly by manufacturer. Use the brand’s measurement guidance where available, but treat it as a starting point. Riders between sizes must decide based on heel retention and toe clearance, not the number printed on the box. A slightly roomier boot can sometimes work with the correct technical sock. A boot with heel lift usually will not improve enough to be safe or predictable.
Check Your Suit Interface
Boots and leathers need to work as a system. Most race suits are designed for boots to be worn inside the leg, but suit cut and boot shaft height can vary. Make sure the suit leg closes properly over the boot without leaving a gap, creating a bulky fold, or restricting the ankle articulation.
If you wear an undersuit, test that combination too. Small layers change how the suit leg sits around the calf and can affect the ease of getting the boot on and off. This matters after a hot day when gear is damp and fatigue is high.
Construction Features Worth Paying For
Not every rider needs the most expensive model, but the lower-priced option should still meet the protection requirements of the organization where you ride. Track-day providers and race sanctioning bodies may specify minimum coverage, armor, and material standards. Verify the rules before race weekend rather than discovering a problem at tech inspection.
When comparing boots, focus on the parts that directly affect protection and longevity:
- A reinforced, multi-piece ankle system that controls movement without blocking the controls.
- Replaceable toe sliders and durable outer impact panels.
- A secure closure system with zippers, hook-and-loop flaps, ratchets, or a combination of these.
- A sole designed for peg grip and feedback rather than casual walking comfort.
- Heat-resistant materials near the inside of the ankle and calf, particularly on motorcycles with hot exhaust routing.
A waterproof membrane is usually unnecessary for a dedicated track boot. It can add heat and reduce breathability during dry sessions. For riders who commute, tour, and attend occasional track days in the same gear, weather protection may be a reasonable compromise. For dedicated circuit use, prioritize ventilation, protection, and feel.
Sole Feel, Rearsets, and Control Input
The sole is easy to overlook until it changes how your bike feels. A bulky sole can isolate your foot from the peg and make fine adjustments harder to sense. A very thin sole improves feedback but may transfer more vibration and fatigue. The best balance depends on your rearsets, boot size, and how aggressively you use the shifter and rear brake.
After fitting new boots, set aside time to check control position. Adjustable rearsets often allow you to tune the shift lever and brake pedal height to match the boot’s toe box. A larger, more armored toe section may need a slightly higher shifter position. If you must hook your toe unnaturally under the lever, your shifts will become less reliable when you are tired.
Do this work in the paddock, not on the out lap. Sit on the bike in full gear, place both feet on the pegs, and move through the controls deliberately. Confirm that your heel can settle naturally, your toe can reach the lever without twisting, and your foot does not interfere with the brake pedal during body-position changes.
How to Break In New Track Boots
Do not wait until race morning to wear new boots for the first time. Break them in at home with clean, dry socks. Walk carefully, squat into a riding position, and repeatedly work the ankle through shifting and braking movements. Avoid forcing the boot over its natural range of motion or using aggressive heat methods that can damage adhesives and synthetic panels.
The first track session should be treated as an equipment check. Pay attention to shifting accuracy, rear-brake feel, hot spots, and any discomfort at the ankle. Make small adjustments to rearset controls if needed. A few millimeters at the shift lever can make a meaningful difference once you are riding at pace.
Do not modify structural armor, cut away internal padding, or remove sliders to make a boot feel more comfortable. If the boot needs that level of alteration, choose a different model. Race equipment should be adapted through correct sizing and control setup, not by weakening the protection package.
When to Replace Race Boots
Boots deserve the same inspection discipline as gloves, helmets, and leathers. Check them after any crash, even if the damage looks limited. Look for split seams, broken ankle pivots, loose sole edges, cracked armor, damaged closure hardware, and worn sliders. If the boot no longer holds your heel securely or the ankle structure feels loose, it has reached the end of its service life.
Heat damage matters too. Repeated contact with exhaust components can harden leather, distort synthetic panels, and weaken stitching. Clean off rubber debris, dirt, and spilled fluids after track use, then let the boots air dry away from direct heat. A clean boot is easier to inspect, and regular care makes hidden damage easier to spot.
AXF Race Parts supports performance riders with race-focused equipment chosen for the demands of track use, where protection and control cannot be separated.
Your boots should disappear from your attention once the visor comes down. When the fit is secure, the ankle support is controlled, and the sole works with your rearsets, you can focus on braking markers, body position, and driving the bike forward – exactly where your attention belongs.